
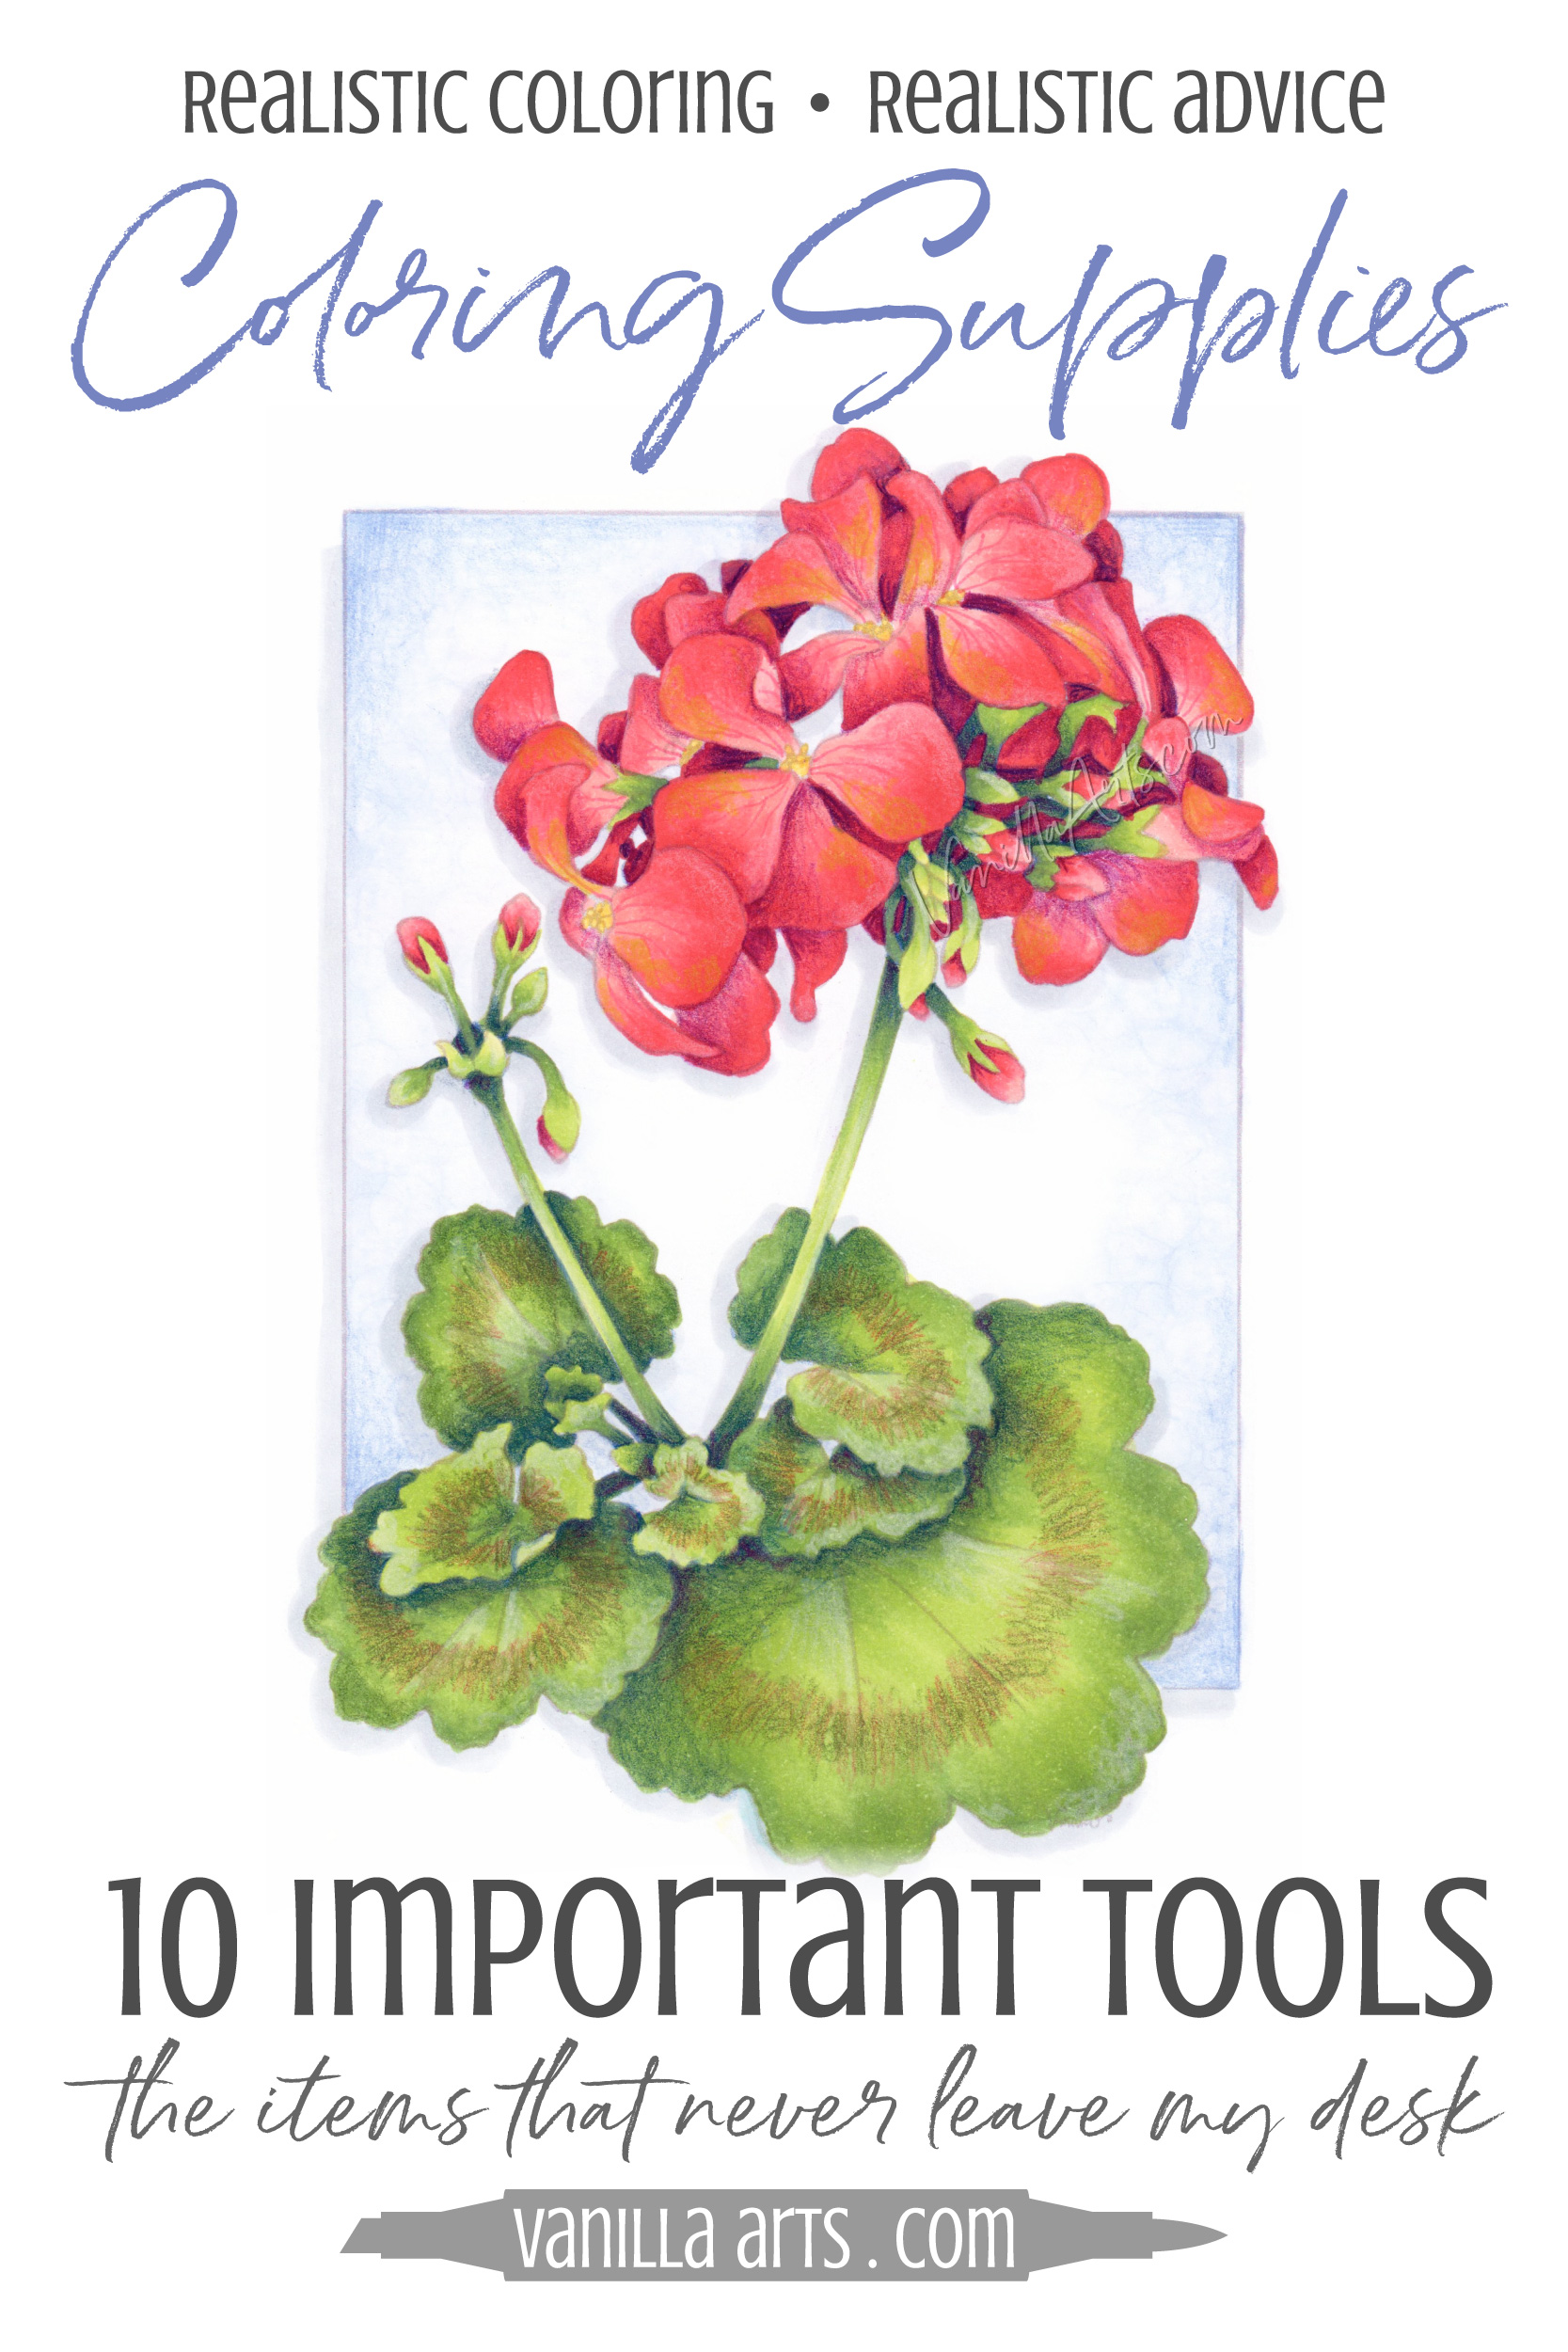
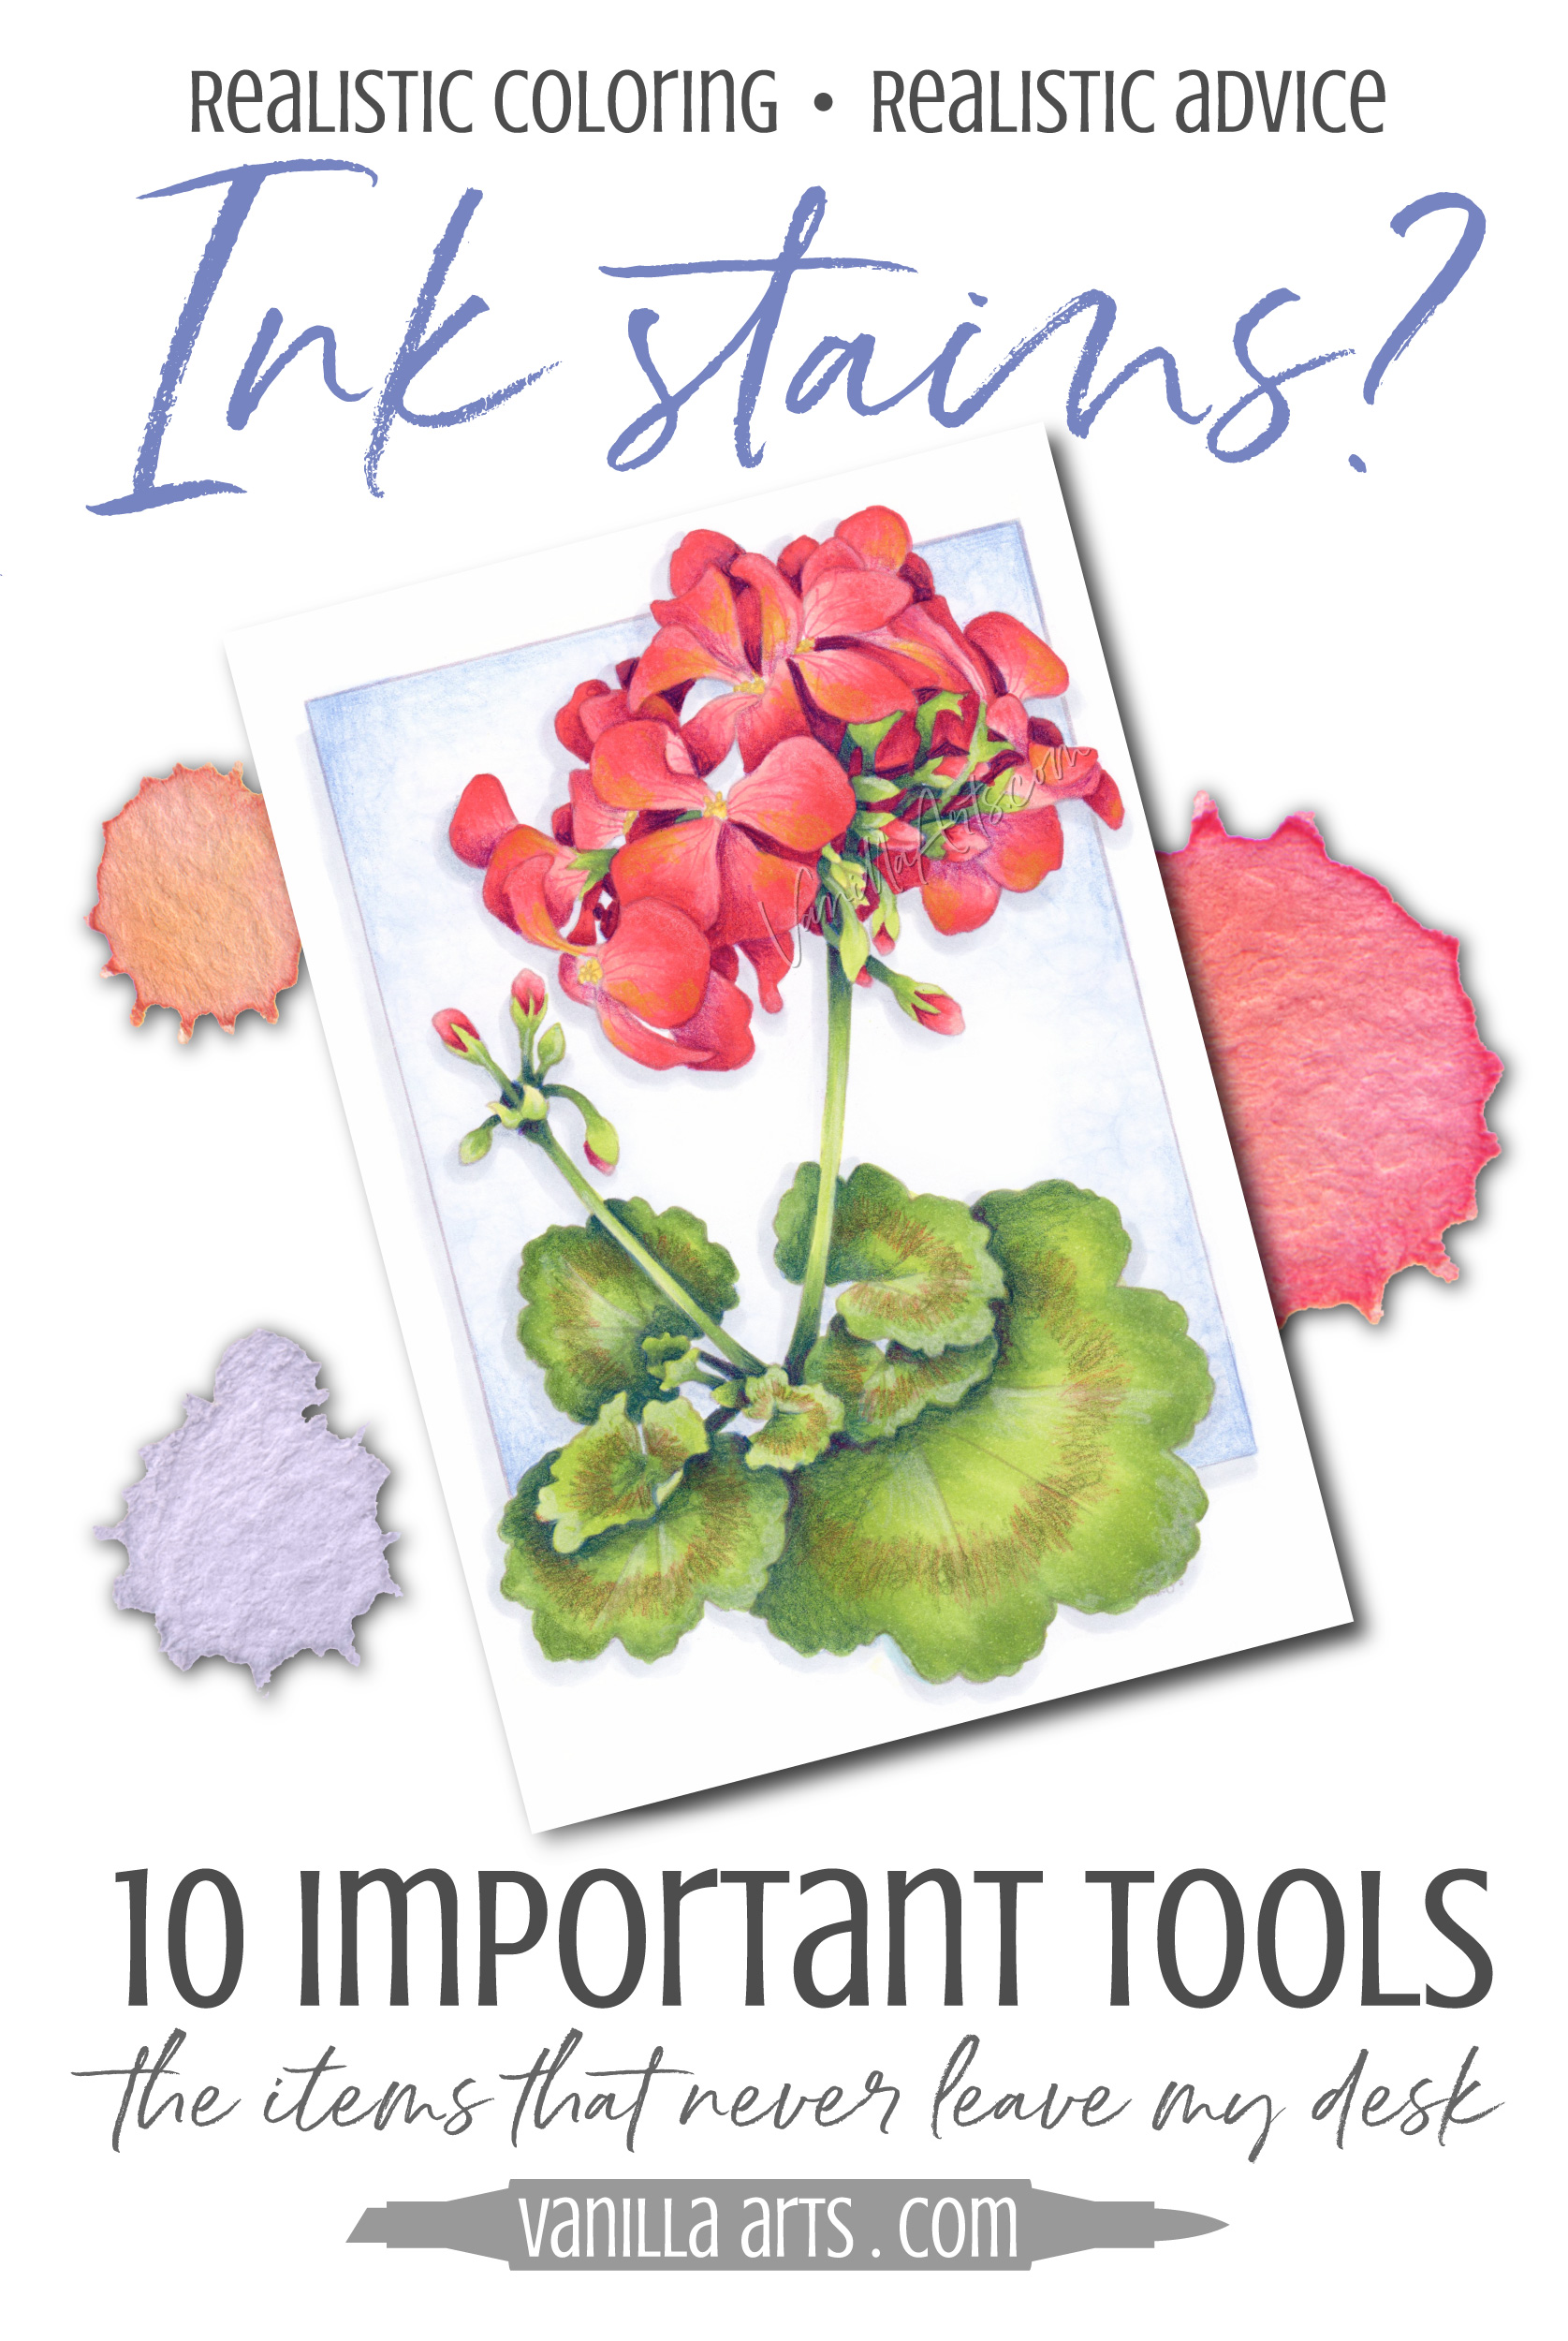
Artistic Coloring: 10 Tools that Never Leave my Desk (Copic Marker & Colored Pencil)
This article contains affiliate links to Amazon, Dick Blick, and other reputable retailers. Affiliate links do not increase your purchase price Vanilla Arts Co uses the fees we earn to support the free articles and content here at VanillaArts.com.
Vanilla Arts Company is a participant in the Amazon Services LLC Associates Program, an affiliate advertising program designed to provide a means for use to earn fees by linking to Amazon.com.
“What do I need for this class?”
The supply lists for your average coloring class or free tutorial, whether it’s with Copic Marker or colored pencil… well, they’re always a little spartan. The list tells you exactly what you’ll need to complete the class project.
Nothing more. Nothing less.
Meanwhile in art classes, you’ll get a general supply list of things you sorta-kinda-maybe might need at some point. But that’s not all, there’s usually a bunch of optional stuff with an asterisk at the bottom of the syllabus and even more tools will be mentioned or demonstrated in class. One nice bonus is that art supply lists are fairly standard from class to class, so they’re more of a bring list than a buy list.
My point is that coloring class lists and art class lists are very different.
Copic Marker lists prepare you for a specific project.
Art lists prepare you for life.
And I do mean life because 30 years later, I’m still using most of the tools I purchased my freshman year of art school. These tools aren’t just handy, I find it hard to function without some of them.
It’s funny, when I casually mention some art tool in a Copic class, suddenly the students start murmuring…
“Oh? Wait!!! What’s that? Was it on the supply list? Where do I get that? Do I need it now or can it wait until tomorrow?”
I think on some level, most colorers know that they don’t get the full tools list in coloring classes.
So we’re starting a new series of articles: the tools and gadgets that I use in my studio.
I’ll tell you what they are, when I use them, why you might find it helpful, and where to find your own.
Some of the items will be common crafting tools— items you already know and love. I might use them differently than you though.
Some things you’ll recognize from my class supply lists.
But many things have been brought over from the illustration world and are totally new to you.
And here’s a warning: Not everything will be right for you!
This is not a shopping list— it’s a peek behind the scenes, showing you what I use beyond markers, pencils, and paper.
We’re starting small.
Today, I’m going to show you the 10 things I use so often that they never make it off the top of my desk.
I have lots of drawers in my studio and I’m super fastidious. I try to keep my desk clean and clear. But today’s list covers the things I grab so often, they never have a chance to get tucked away.
This is the stuff I want within arms reach at all times.
10 Tools I use Every day
I’d be lost without them
And yet these things are not usually seen in my videos and demonstrations.
Glass Surface
Most Copic colorers place a sheet of scrap paper below their project as they color. Many of you have been told to do so by Copic instructors.
I DO NOT RECOMMEND coloring on blotter paper.
Emphatic enough for you?

Copic Marker inks blend best when you work wet on wet. That’s fresh wet ink blending with fresh wet ink.
Ink particles can’t move when the ink is dry. You’ll always get your best blends when you keep the ink moist and moving as long as possible.
Coloring with glass directly underneath your project slows down the evaporation process, keeping your paper wet longer.
Scrap paper underneath your project is the opposite of glass! It speeds the dry time by absorbing excess solvent from the back while the project is also drying naturally from the front.
Scrap paper protects your table surface but it makes blending harder!
My coloring table is covered by a large sheet of tempered glass which has been cut to fit my custom sized surface. It’s thick with bevelled edges. I color directly on this glass.
On my side desk, I have the 12 x 12 Glass Cutting Mat from We R Memory Keepers. On my spare table, I have the Tim Holtz Glass Media Mat.
Every project on my website since 2017 has been colored on a glass surface.
When I demonstrate in-person, I work on a clear acrylic clipboard. It doesn’t work as well as glass but the acrylic will not shatter if dropped.
You will see instant improvement in your blends when you switch to glass.
2. Super-insulated Tumblers
Okay, this is not an art supply but let me share an observation.
I’ve colored in a lot of classrooms and stores. It’s standard in the paper crafting community to bring all drinks in lidded, spill proof cups.
But I see a lot of students arrive with fast food carry-out cups.

Sure, carry-out cups technically follow the rules. They won’t spill much if you tip them over. And most of the nicer classrooms have drink holders mounted off the side of the table to prevent tipping.
But folks, I’ve watched your cups get coated with drippy wet condensation. I’ve seen you leave drink rings and giant puddles on the table top. I’ve seen you dribble drink-sweat across the desk as you take a drink.
And maybe it’s just water, but HEY!
We’re working with X-Press It Blending Card. XPI can not handle any contact with water— it melts on contact. Heck, I’ve sneezed and ruined projects, just think what dragging them through a cup puddle will do.
I know they’re expensive but it’s really wise to invest in a beverage tumbler that absolutely, positively will never sweat.
Then use it at home in your craft room, religiously!
I have one Yeti 20 ounce tumbler and several 24 ounce tumblers from Corkcicle. I can not recommend them highly enough.
Walking into your craft room with a wet cup is just asking for trouble.
I picked this up when oil painting. Oil and mediums don’t just wipe right off your hands, especially if you keep a little length on your fingernails. And I’m messy; I was always getting paint on my brush handle, my forearms, forehead…
I’m not the tidiest of painters.
Anyway, we had box of spirit-spiked wipes near the sink in every classroom.
Now that I’m working with Copics, I do the same thing.
Add about 1 cup of 90% rubbing alcohol to a package of diaper wipes and now you’ve got Super Wipes!
Spiked wipes are great for removing Copic ink from a glass work surface…
… but they’re also handy to remove ink before it stains your hands. I use them to clean my marker barrels too.
Try not to rub them against your marker nibs because there are moisturizers, aloe, and other ingredients in wipes that aren’t great for your nibs… but if you’ve ever noticed how sparkly clean my markers are in videos, the mega wipes are why.
Having spiked wipes handy makes it easier to stay tidy.
Important: Make sure to mark the package as super wipes! You don’t want to accidentally use these amped up cloths for cleaning sensitive body parts. OUCH!
My high octane wipes are always within arm’s reach.
4. Copic 0 Marker
The unseen marker on all my supply lists is a Zero marker.
I know you all have a #0. But I also know how colorers think…

You’ve tucked your colorless blender marker away in your Copic caddy which is beautifully displayed across the room. You put the unit over there because now you can marvel at the glorious morning sunlight as it splashes across your beloved marker collection….
Right?
Even if your storage caddy is sitting beside your desk, you still don’t pull out a #0 unless it’s specifically called for.
So when disaster strikes or you color outside the lines a little bit, you have to scramble to find your Zero.
“Oh my gosh… hurry. Where’s the 0? Run, get it fast! Oh no, is it still in my bag from class last week? Shoot! Where did I leave that marker???”
Folks. I have four — YES, I OWN FOUR COLORLESS BLENDER MARKERS!
At least two #0 markers are always on my desk. ALWAYS.
You don’t drive a car without brakes and you wouldn’t jump out of an airplane without a parachute or at least an umbrella.
Copic Colorless Blenders are your life preserver.
So don’t store it in the attic.
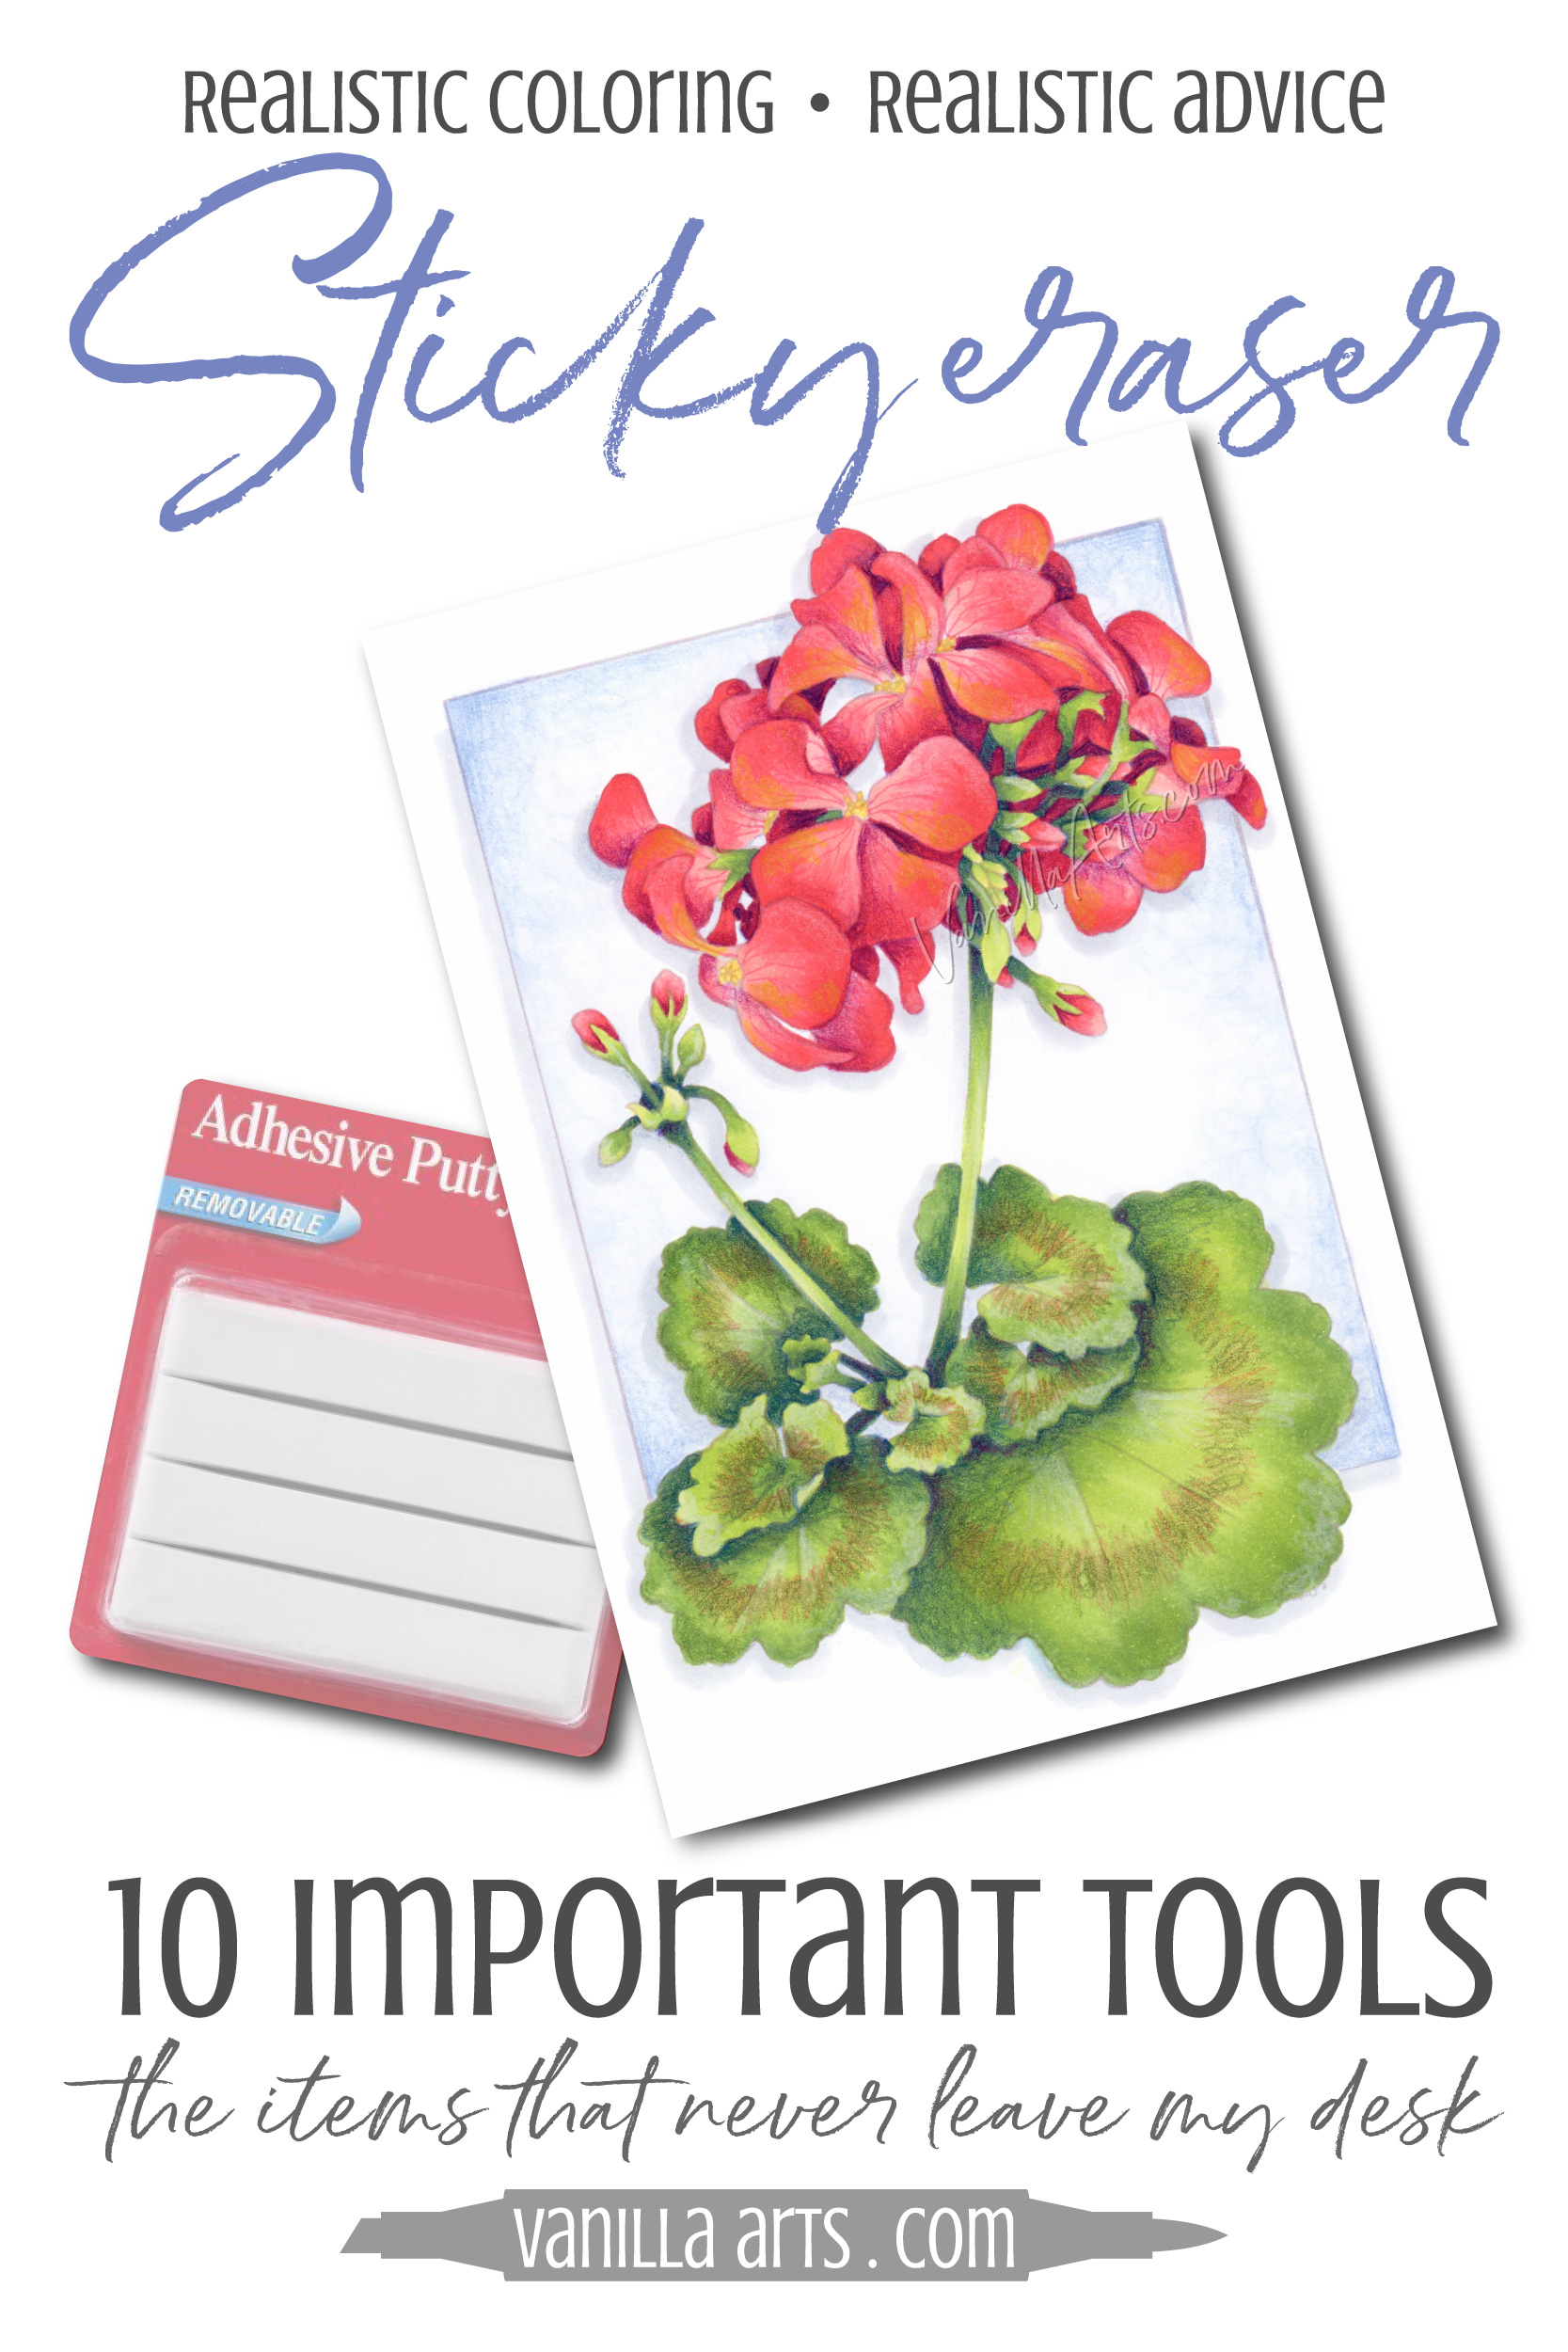
5. Sticky Tack
I use poster putty as a colored pencil eraser.
Regular kneaded erasers are made for graphite. They don’t work well on wax or oil based colored pencils.
Sticky tack is my most used eraser because I always try this gentle eraser first before I move to the harsher rubbing-style erasers.
You can read more about it in this article.
I keep a small ball of sticky tack on my desk at all times but I also have sticky tack in my class supply travel bag, in my travel sketch bag, in my drawing class kit, and I’ll bet there’s one in every drawer of my desk.
One package of sticky tack will last for years.
You don’t need a large wad like you do with kneaded erasers. I make several balls, each about 1/2 teaspoon or less than 3/4 inch diameter. I store each ball in a 5 gram plastic pot with a screw lid. They sell small empty pots on Amazon for lip gloss but you could also recycle a Carmex/Blistex pot, use a pill container or a contact lense keeper. The goal is to keep the ball of sticky tack from collecting dust, dirt, and pet hair.
Everywhere I work in my studio, a ball of sticky tack is sitting nearby at the ready.
6. Tombow Mono Zero
I need to put an asterisk up there next to the sticky tack.
Sticky tack WAS easily my most used eraser but over time, I’ve been slowly using another handy eraser more and more.
Nowadays, if I’m coloring with colored pencil, I usually have a Tombow Mono Zero eraser in my other hand.
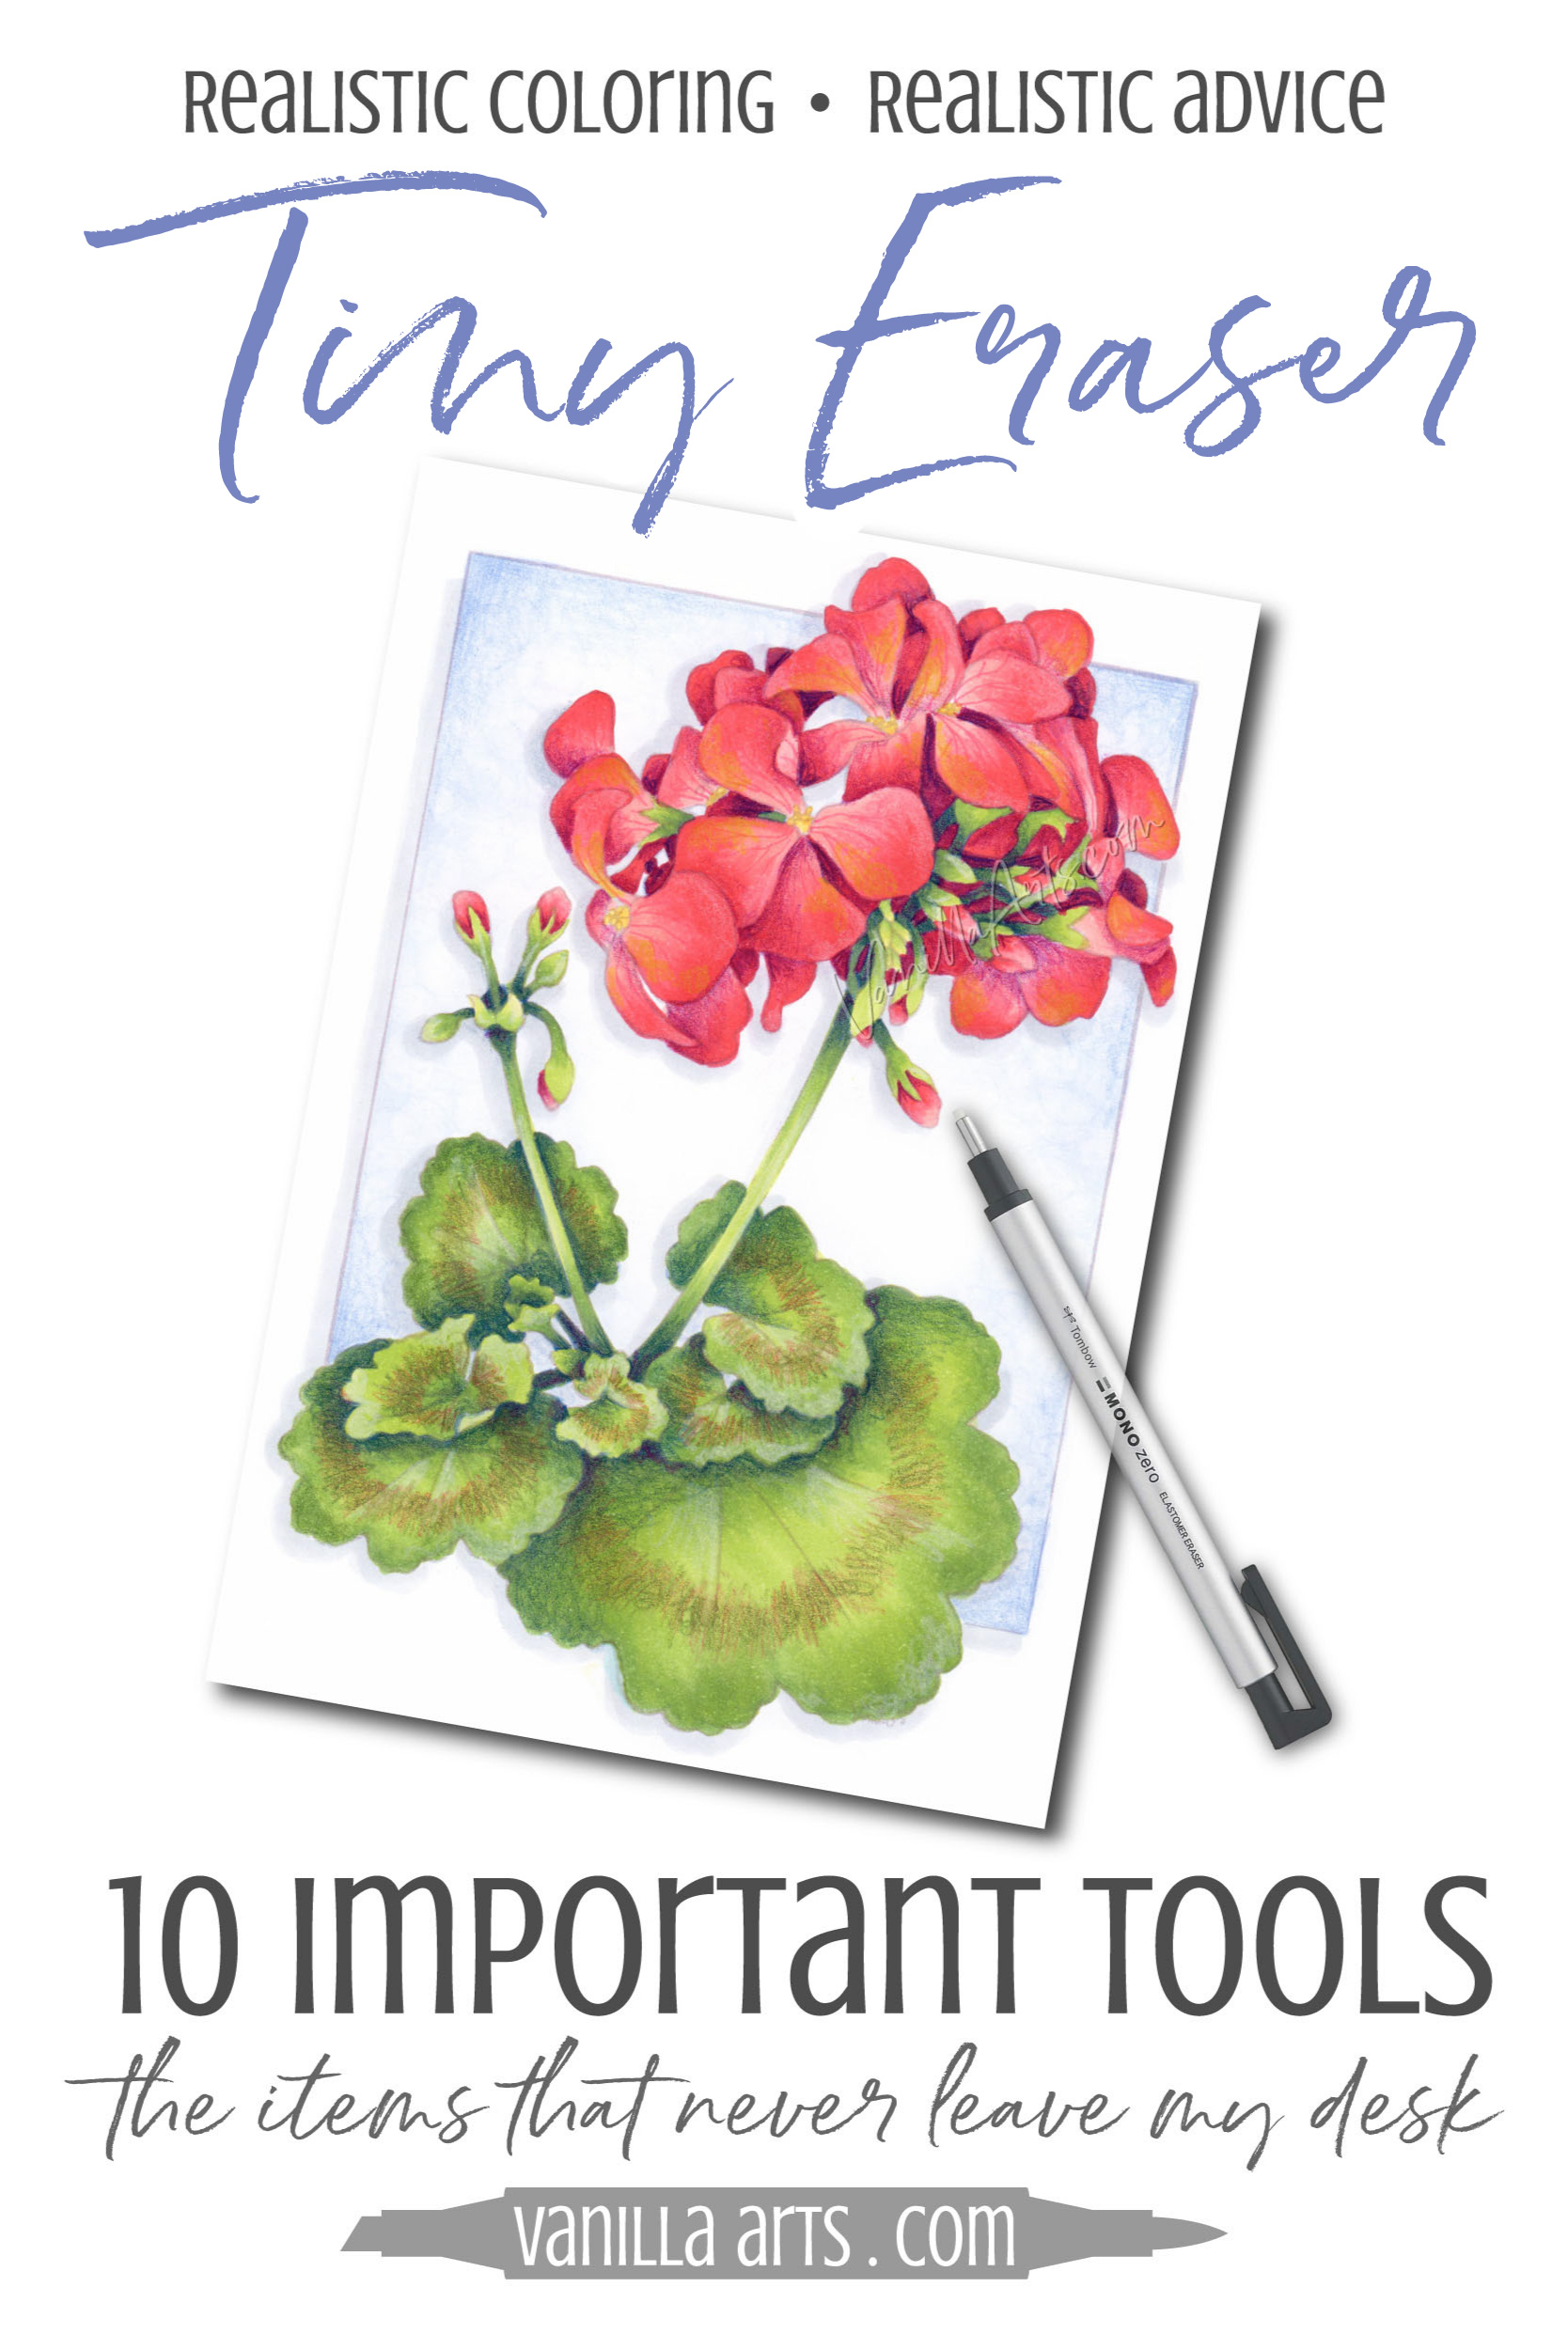
The TMZ is exactly the same as the white erasers I love so much…
but it’s oh so cute and teeny tiny!
The miniature size is what makes it so important.
Normally when you erase something small, like the highlight in an eye or a hair that was drawn too fat…. well, when you erase an eyelash, you usually have to be prepared to lose the whole eye. It’s collateral damage.
Sometimes you have to erase the good stuff to erase the bad stuff.
With the Mono Zero though, you can get the eraser into the small spaces and fix just the mistake, not everything around it.
Here’s a bonus effect: because the TMZ is pencil shaped, I’ve actually started using it more like a pencil.
Actually, like an anti-pencil.
I do not use solvents like Gamsol and I never, ever, ever use blending pencils.
I’ve been using the TMZ like a blending stump. Because I scan my work at a high resolution, I’m picky about the details. The Mono Zero can smudge the transitions from pencil to uncolored paper; better than I get by hand. I’m not erasing anything; I’m smearing it slightly.
I think it makes a big difference, especially when the project will be enlarged for printing or display.
If the Tombow Mono Zero isn’t in my hand, it’s on my desk.
And yes, I own three of them plus refills. I’d hate to be caught without one.
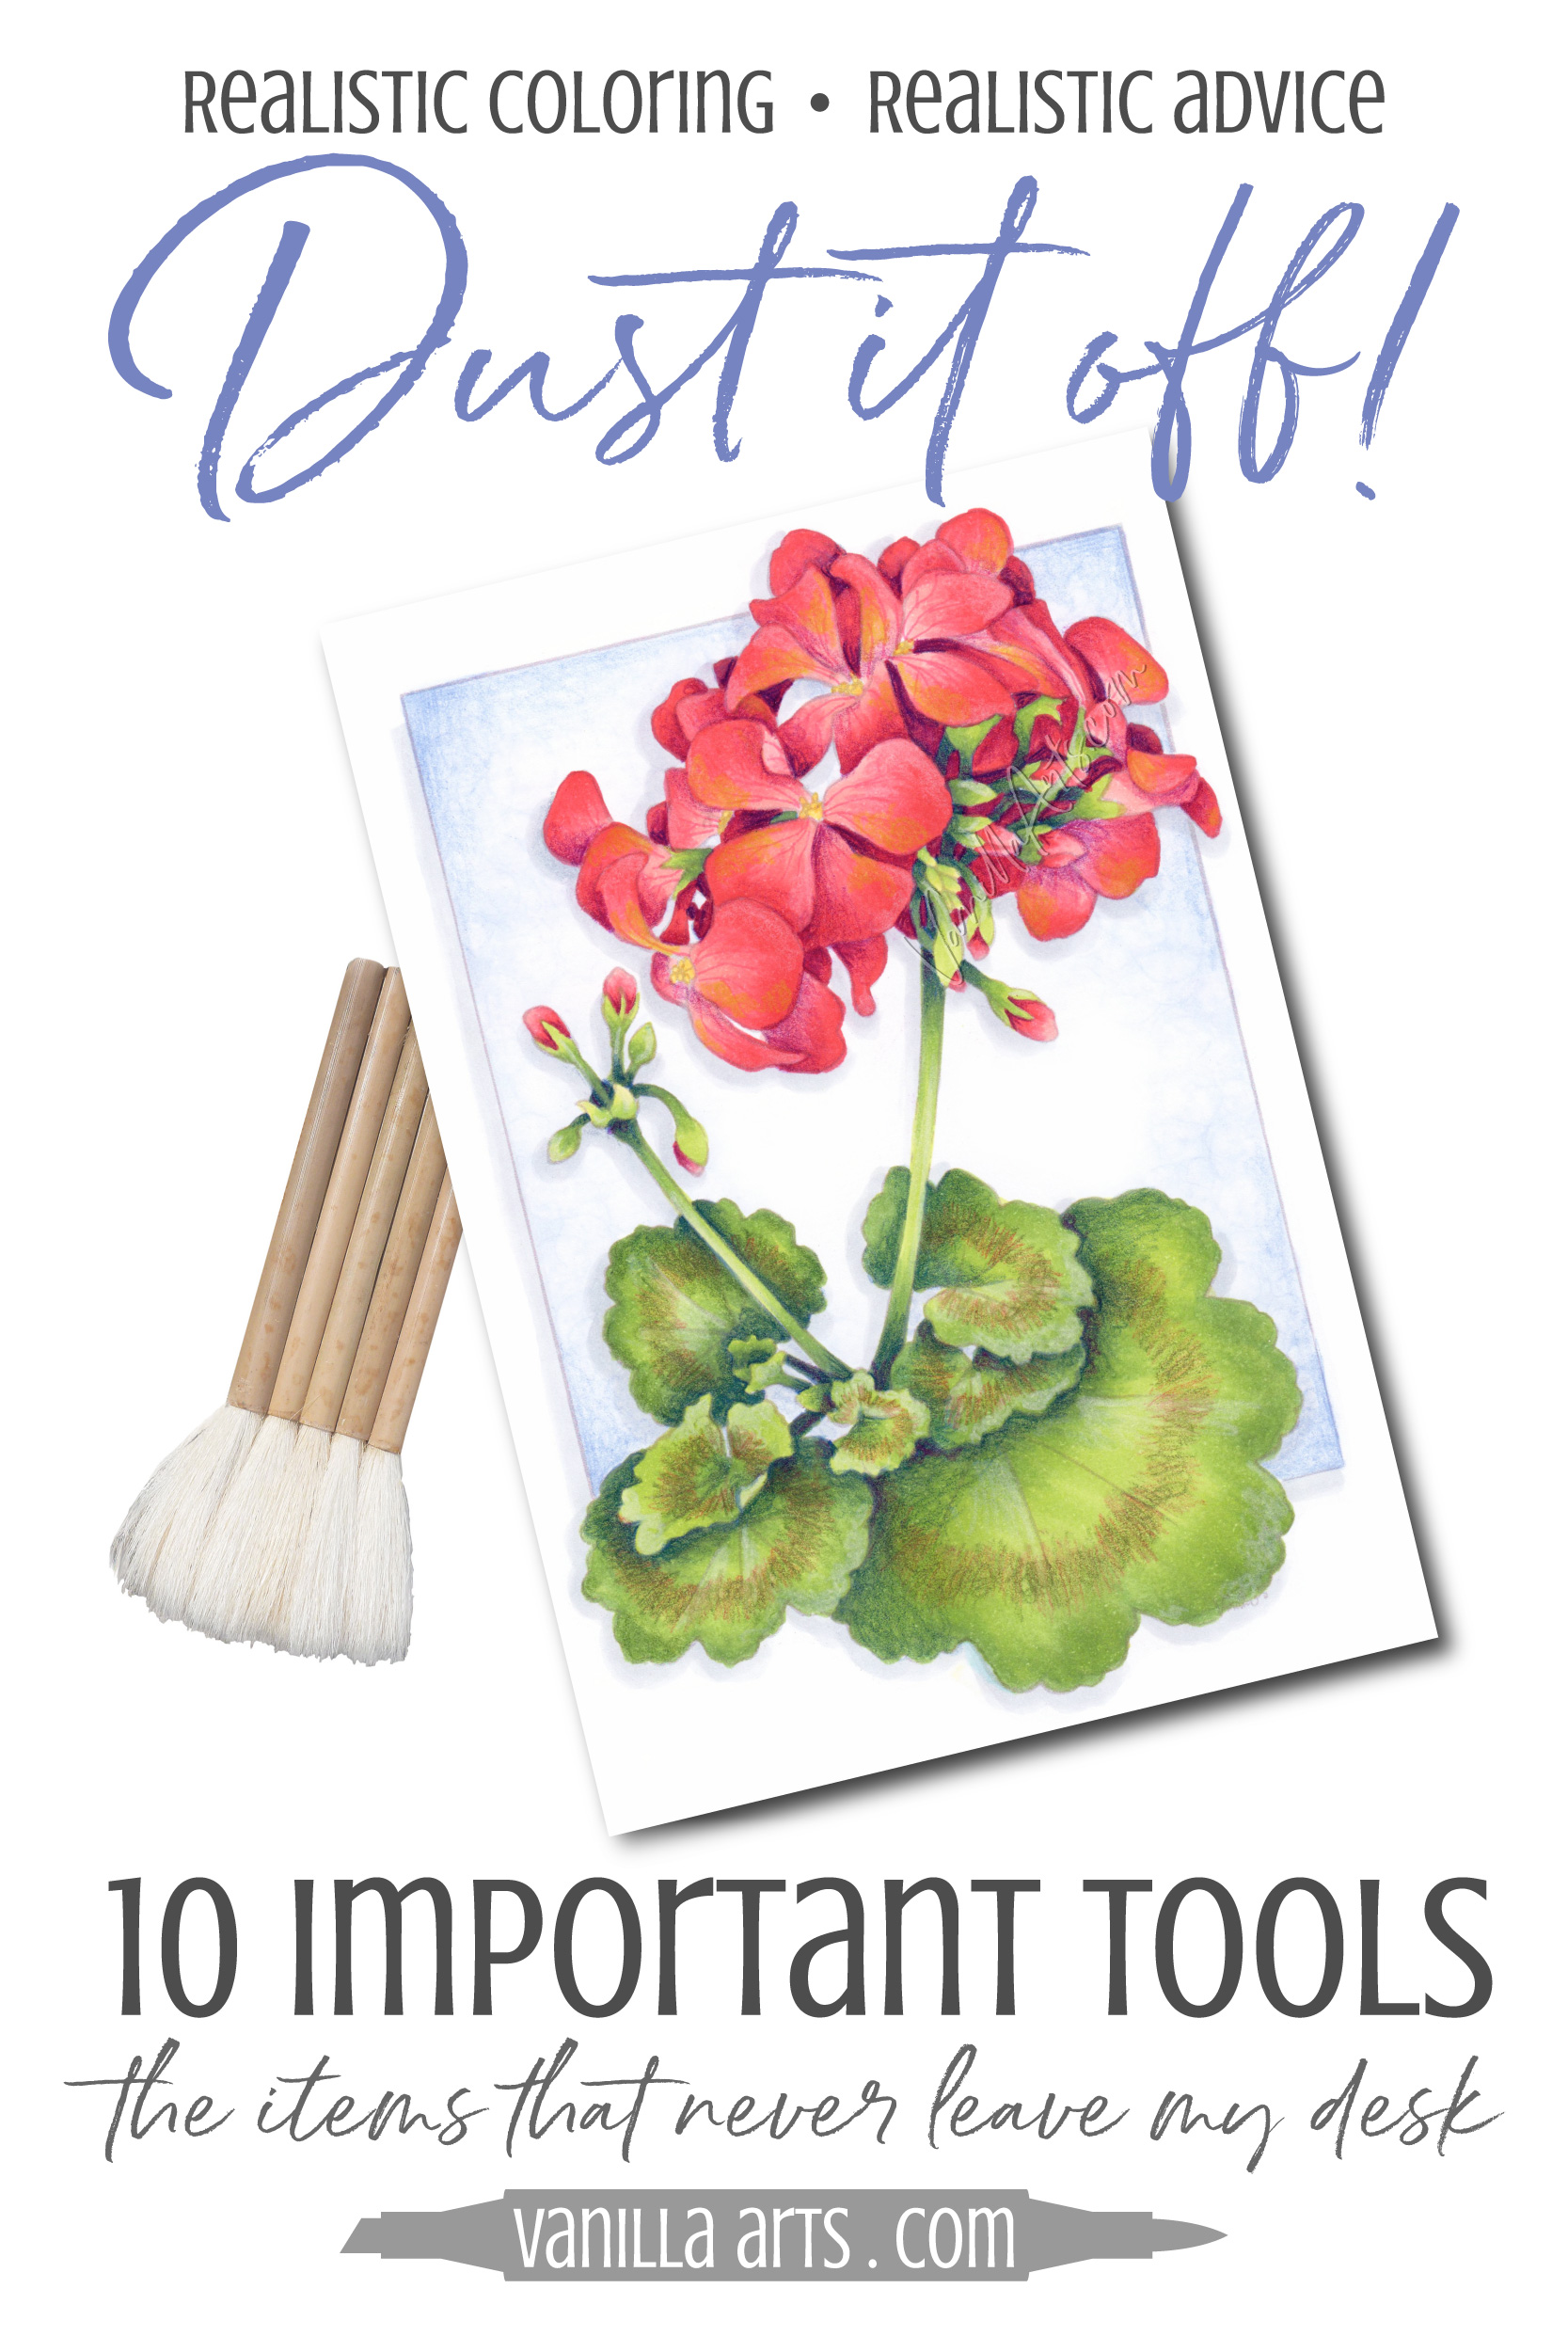
7. Hake Brush
I always use colored pencils over the top of my Copic coloring. I always use colored pencils over the top of my watercolor work.
Basically, if it comes out of my studio, it’s got colored pencil on it somewhere.
Colored pencils, no matter the brand and no matter the quality— they all shed little bits of pigment.
Some more than others but every brand, even top quality oil based colored pencils will cast off color dust.
It doesn’t take long to figure out how NOT to get rid of debris.
“Oh, there’s some dusty stuff on my paper, I’ll just brush it off with the side of my hand…
ACK!”
We’ve all done it.
If you use your hand, you’ll leave streaks. Friction plus colored pencil dust is not good.
I used to blow the pigment away, until I almost passed out once.
Getting old stinks.
Anyway, smart people use a dusting brush.
At my desk, I use a hake brush. It’s super soft and lifts the pigment without dragging it.
If a brush is too firm, the dust will leave a mark.
Hake brushes are always super soft. An extra-wide baby-soft paint brush will cost you some serious cash but even a four inch wide hake brush will very reasonably priced.
In my travel kit, I keep this small brush made by Mod Podge.
A soft brush is a good thing to have handy.

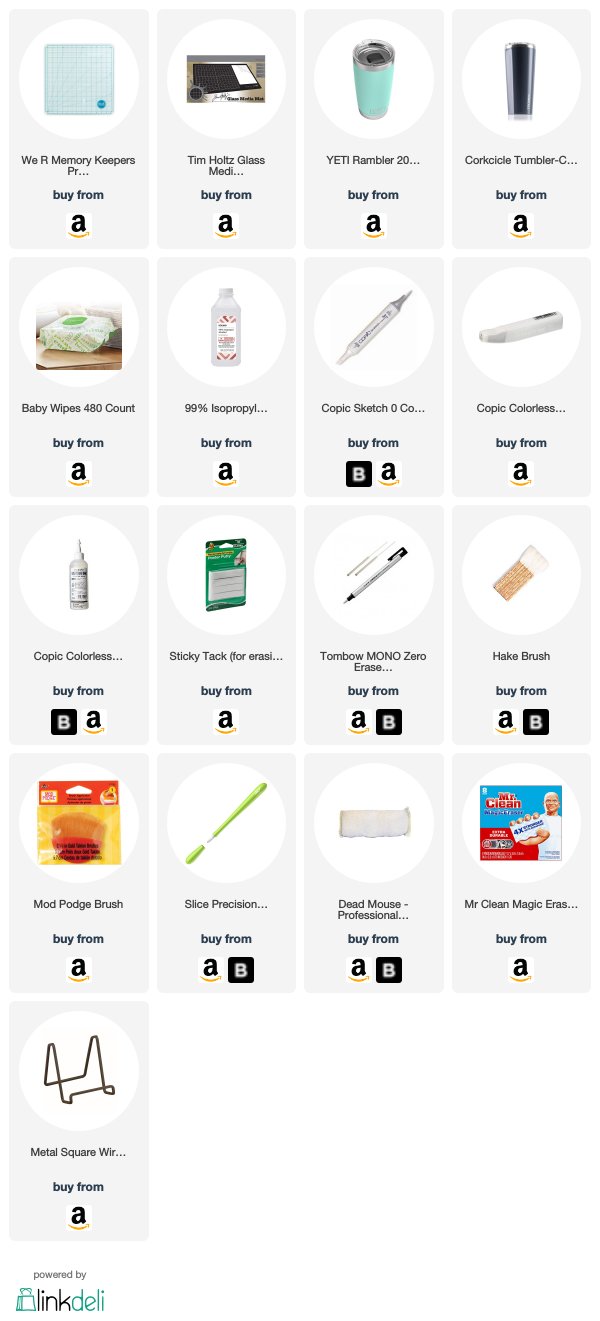
Check out Amy’s favorite art supplies, click above.
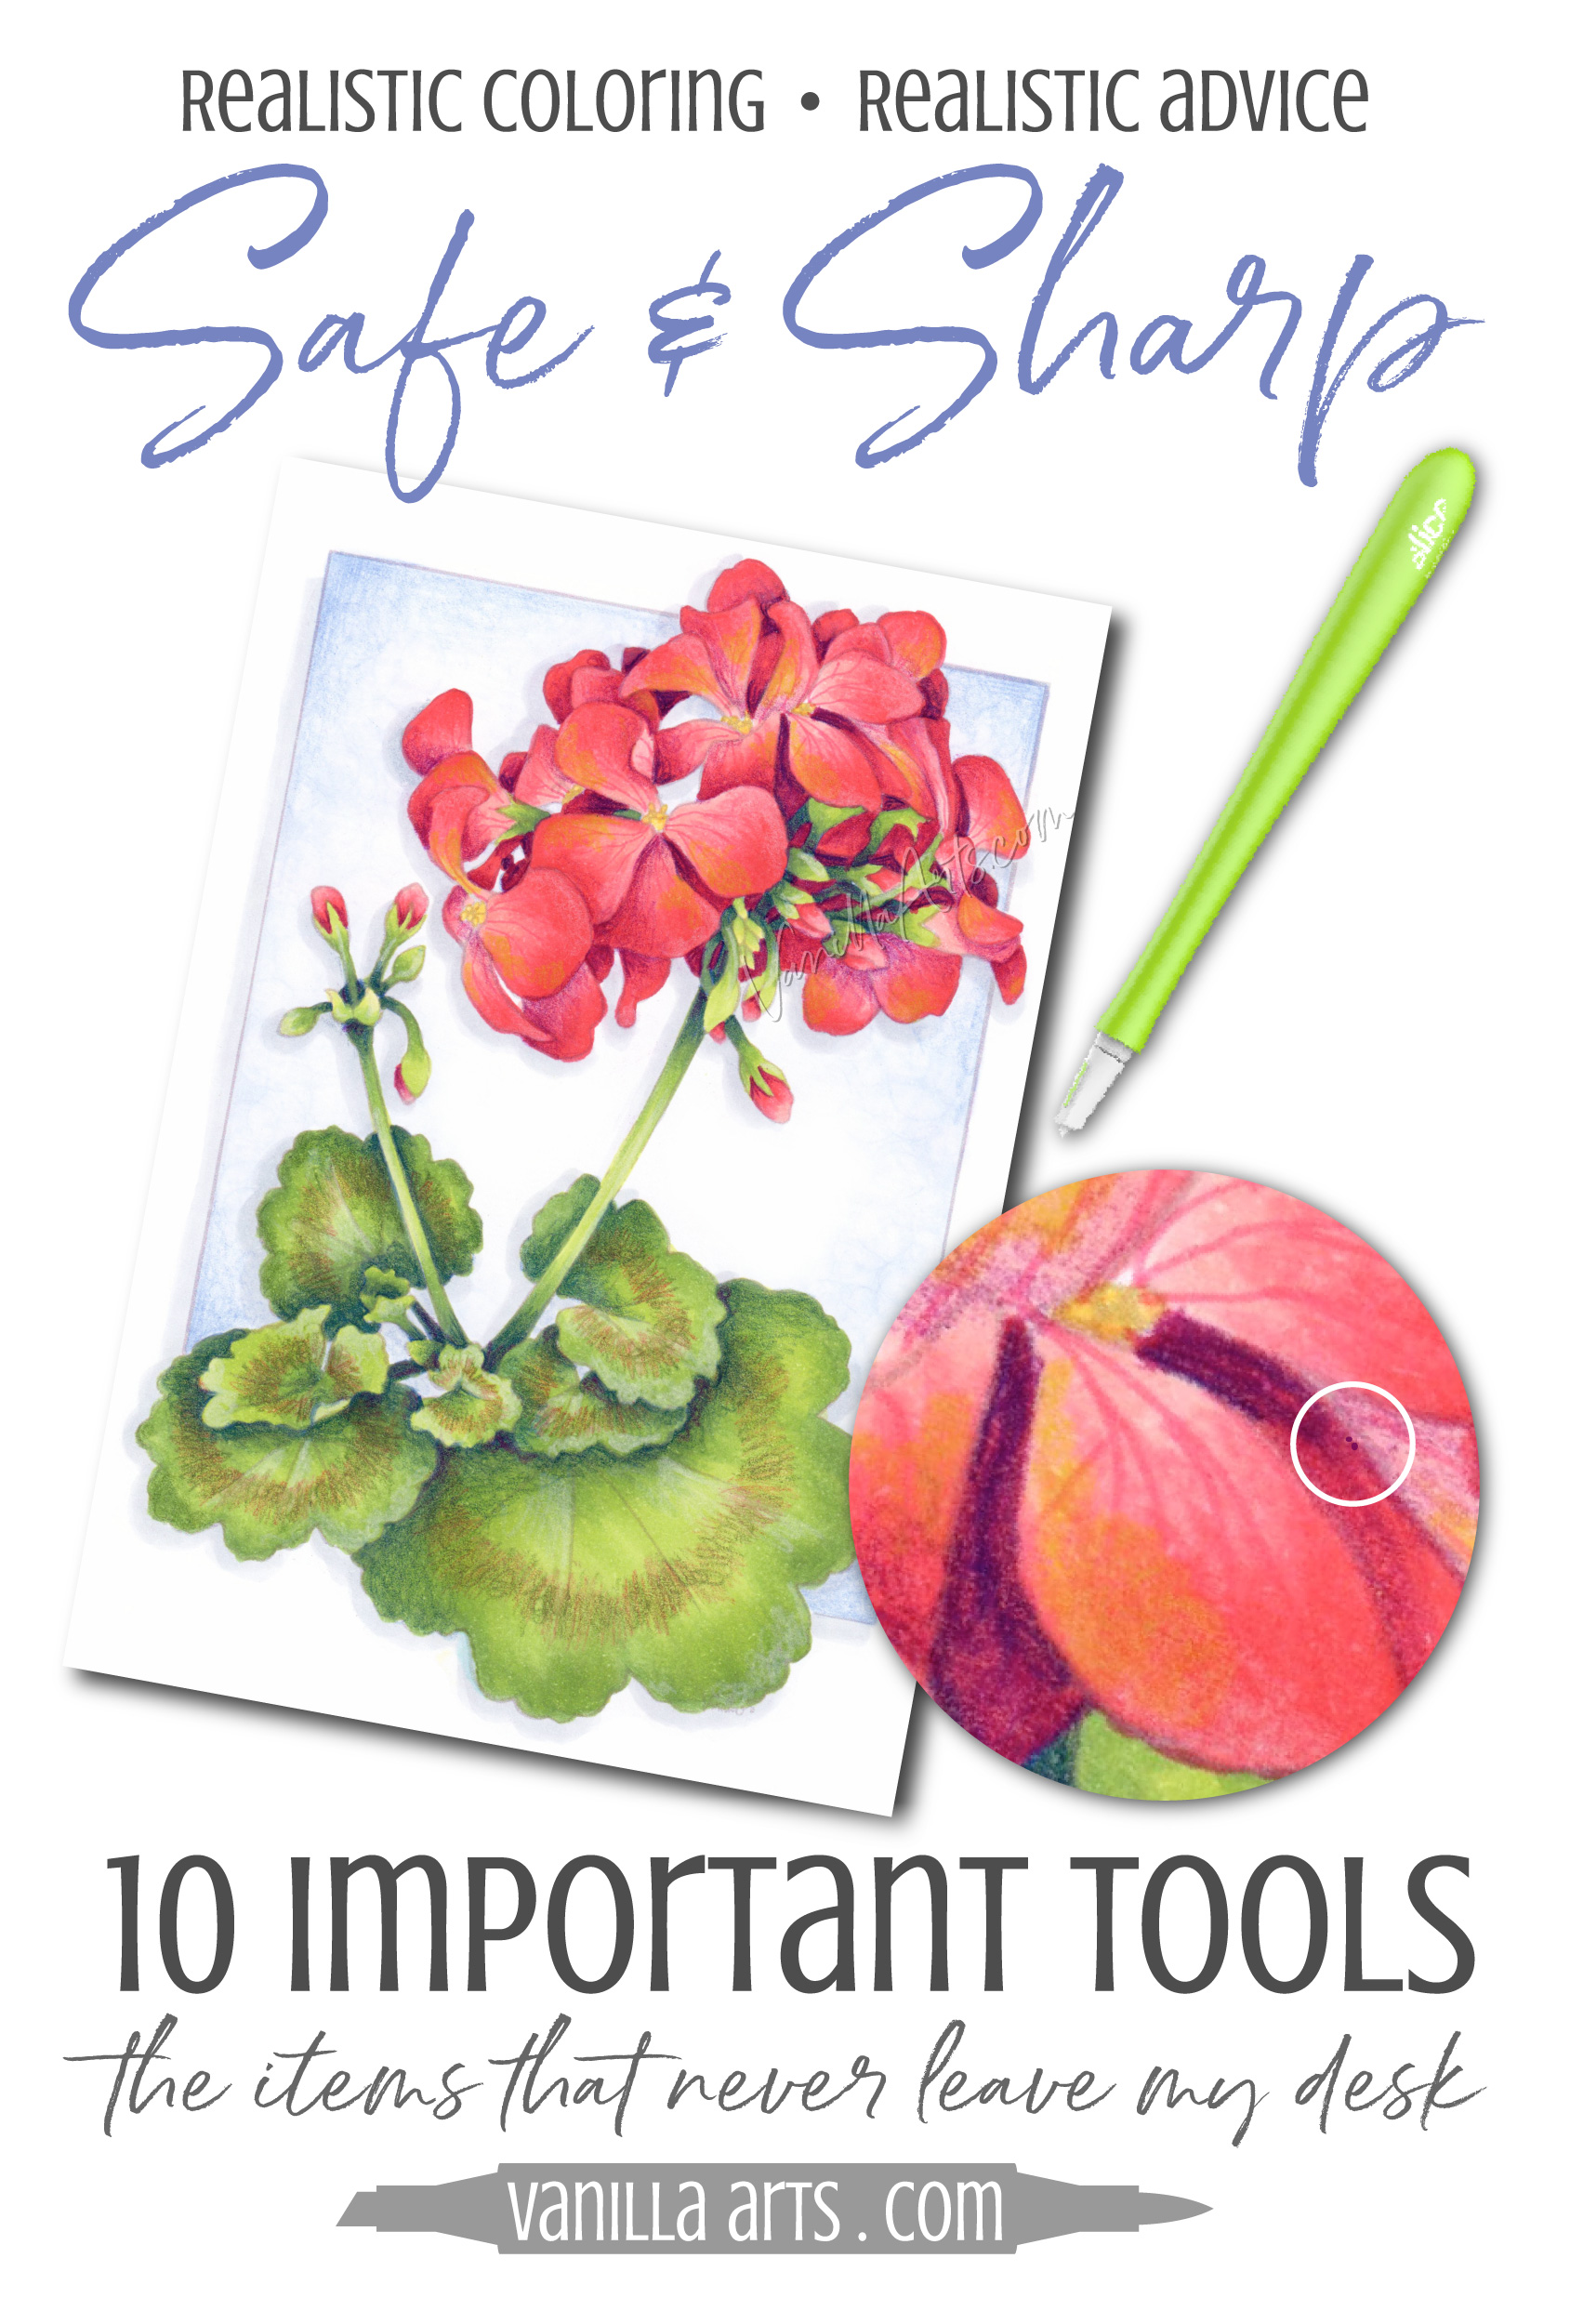
8. Slice Precision Cutter
Colored pencils leave more than just dusty debris.
All colored pencils contain wax. Even oil based pencils still contain wax.
This wax is both a blessing and a problem. Wax is good because it’s what sticks the pigment to the paper. But you have to be careful because there’s a limit to how much wax can stick to the paper.
Basically, you can’t keep coloring in the same spot forever.
When you work in multiple layers, there is less tooth available to hold successive layers of pigment.
If you’re working colored pencil over Copic as I do, that means we’re working on marker friendly cardstock which doesn’t have a lot of tooth to begin with.
Anyway, as the layers start to build up, there’s less tooth to grab on to. And that wax has to go somewhere.
When you max out the tooth but still keep coloring, you’ll notice tiny wax bumps starting to form.
No, I do not know the scientifically approved special name for waxy lumps.
Let’s call them wax balls, okay?
As I was saying… wax balls. They don’t look good. It’s not that you made a mistake, it’s that the pencil just didn’t want to stick properly and you get a little chunk of pigment just laying there looking dumb.
You can’t blow wax away like pencil debris. It’s not loose; it’s a little bit stuck to the paper.
If you can’t blow it away and you can’t brush it away, what can you do?
Well, learn from my mistakes…
If you try to erase a wax ball you’ll smear the ball. What started as an annoying lump becomes an ugly streak.
For years, I’ve used the sharp point of a craft knife blade to pick off wax balls.
With a tiny point, you can lift wax balls up and flick them away.
The problem is that I’m a disaster with knives. Half of my medical file is visits to Urgent Care to have dangling body parts reattached.
Then I found the Slice brand ceramic cutters. Admittedly the word “slice” sounds kinda dangerous in my hands.
Slice cutters are safer because they’re pointy but not sharp to the touch.
They cut when you apply pressure, not when you’re simply sliding up a blade.
Yes, 4 stitches when I push-buttoned an X-acto “safety” blade straight into the side of my index finger… sigh. I am cursed.
Like the Tombow Mono Zero I mentioned in #6, the Slice Precision cutter is a micro tool. The blade is so small that it’s perfect for precision wax ball removal. You can easily flick the ball loose, then hake-brush it away!
I also use my Slice blade to remove stray Uniball White ink. Once the ink dries, you can scrape at the raised ink to thin down an overly fat line. I also pop Glossy Accents bubbles with it.
I have this tool in my hands 3-4 times a day. It’s that helpful.
In fact, I purchased a second Slice last month because one of my teenagers borrowed mine “for just a few minutes”. I noticed it was gone immediately and panicked. The replacement was delivered about the same time that the old one mysteriously reappeared. Grrr.
But now I have two Slices and the Urgent Care staff miss me.
9. A Dead Mouse
What???
I know.
That’s what it’s called. A dead mouse.
Actually, I think the official name is a Drafting Dry-Particle Cleaning Pad.
But we call them a dead mouse because that’s what it feels like. It’s that size. It’s that shape. It’s that weight…
… and it’s the perfect amount squishyness with a slight give yet combined with a bit of inner firmness…
Sorry.
It’s a dead mouse. Hold one and you’ll understand.
It’s even a little cool to the touch… oops. I’ll stop now.
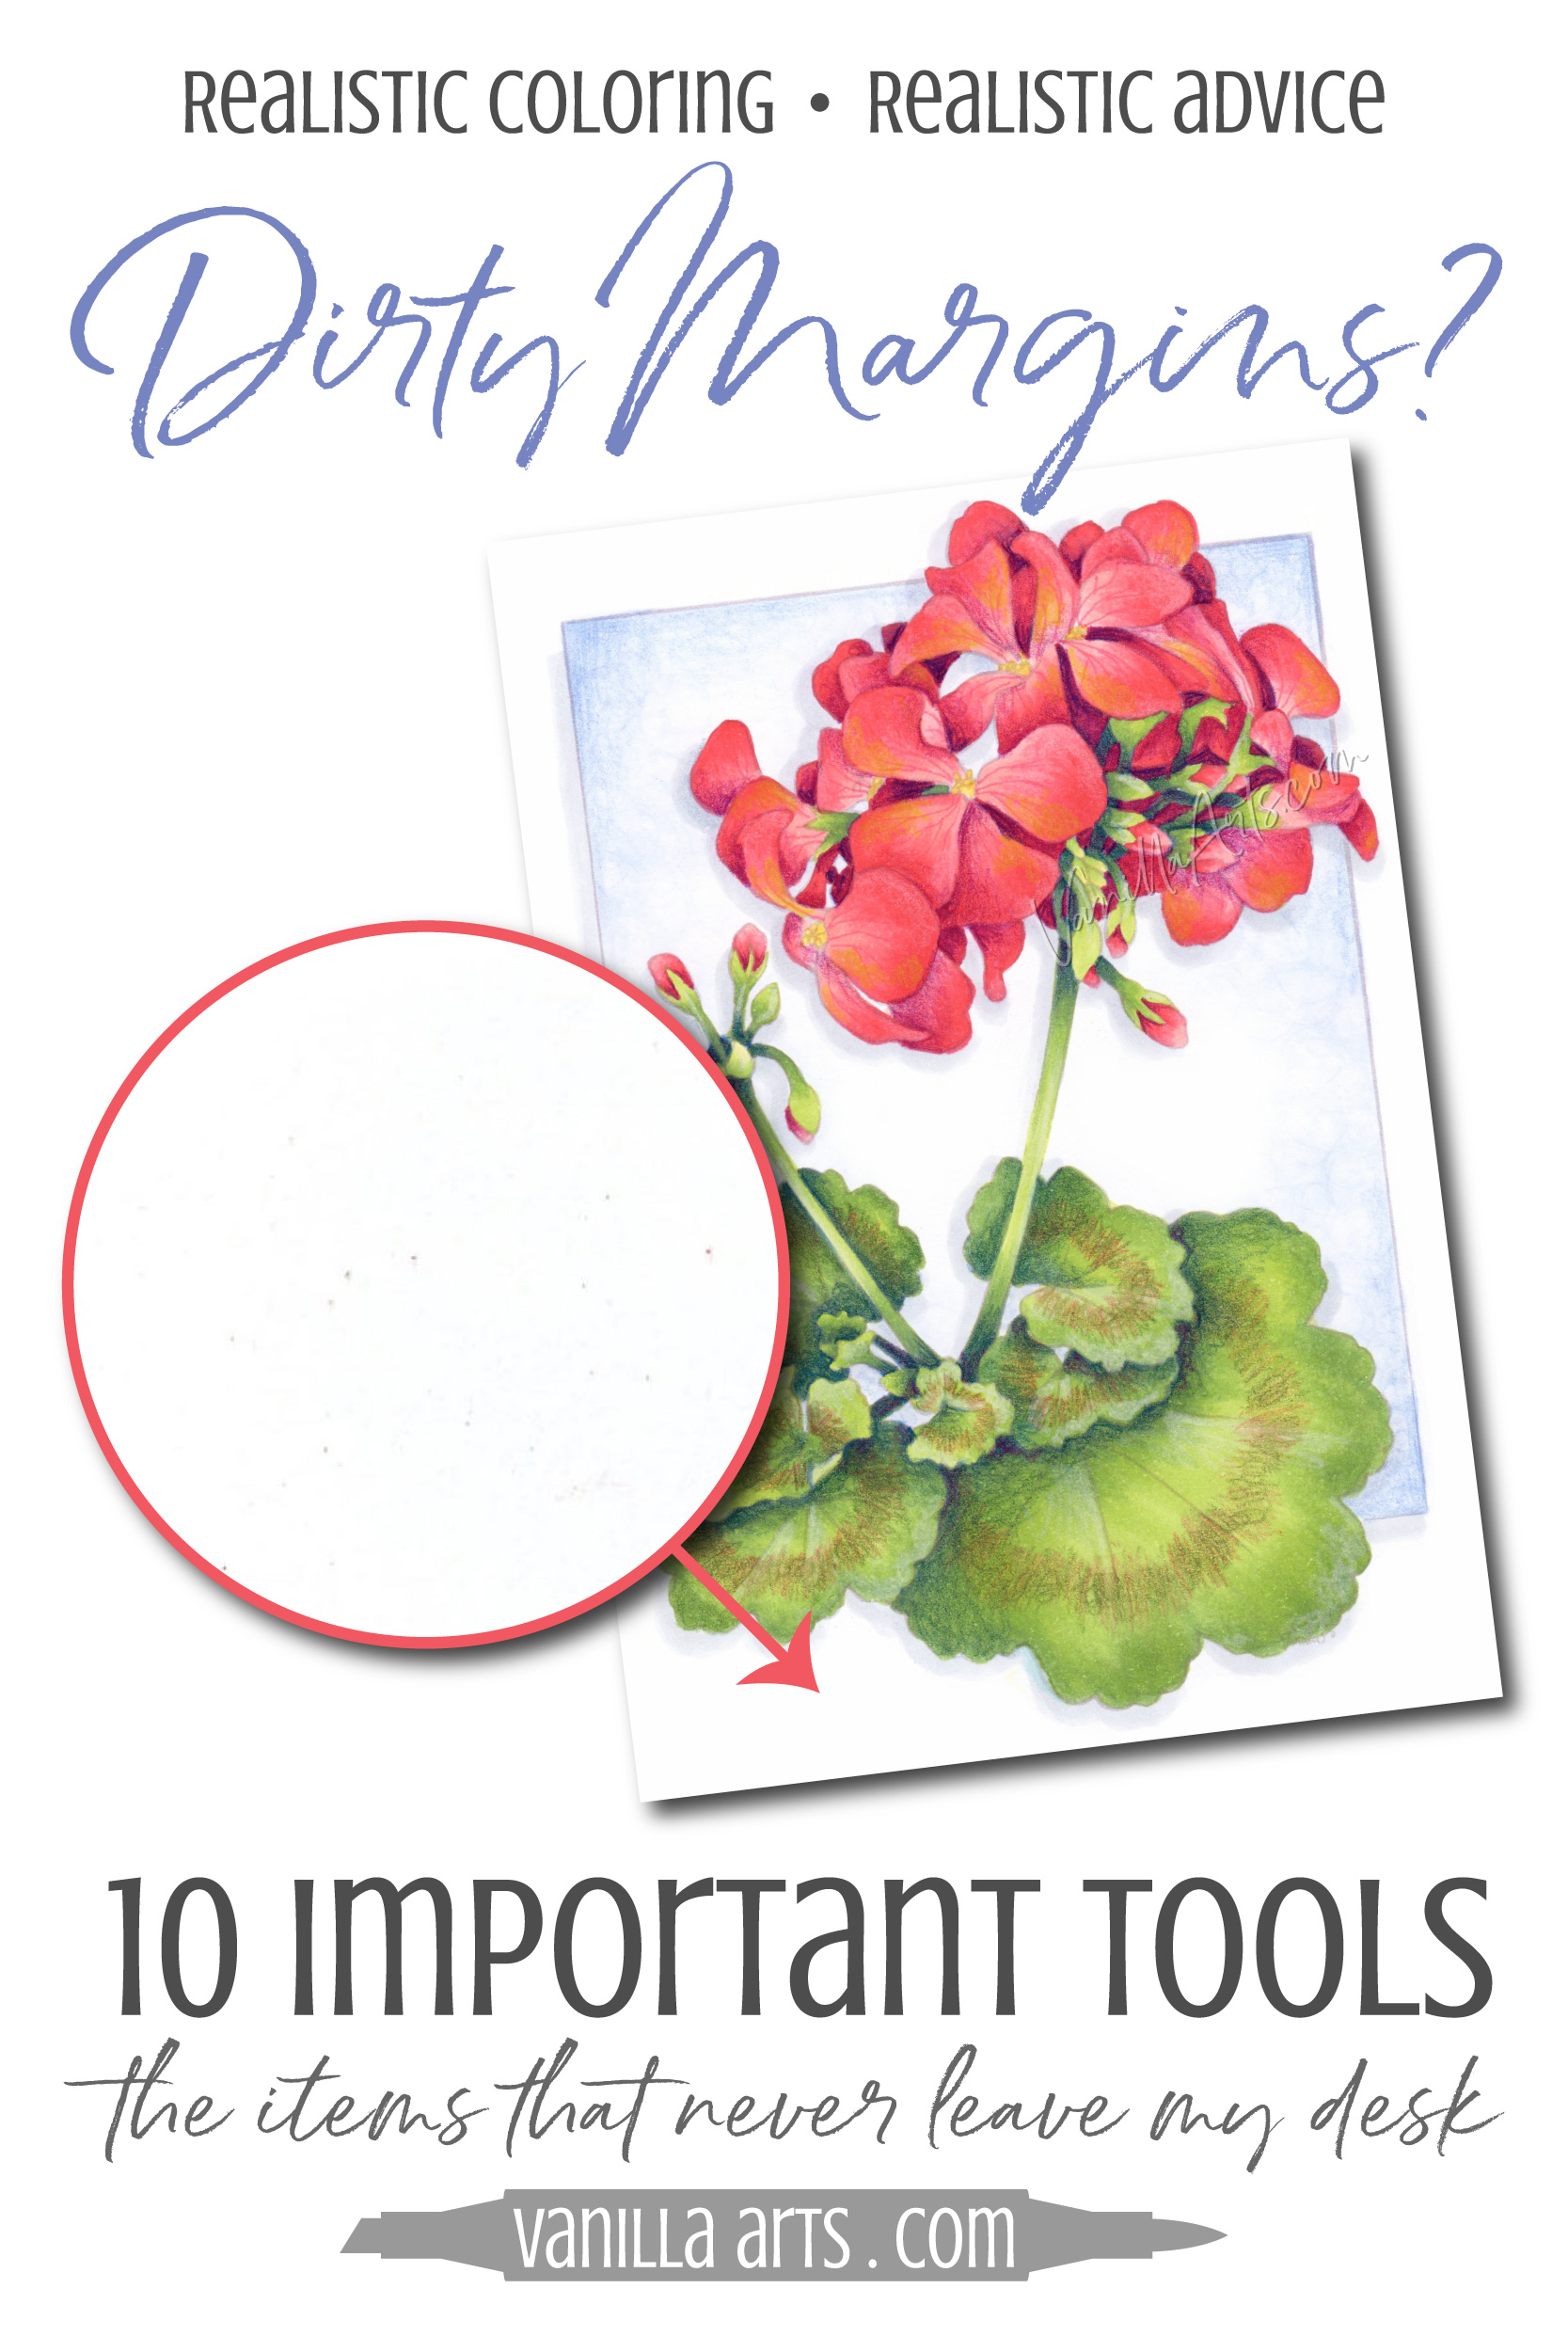
The more you delve into realistic coloring, the longer you’ll spend on projects. You can’t get realism in 10 minutes.
The longer a project takes, the more times you touch the project.
Even though I use a drawing glove or a sheet of glassine under my hand, by the time I’m done with any project, the margins are filthy.
You’ll get ground-in pencil dust, stray marks, and even hand oil gunking up what should be a clean white margin.
A dead mouse is filled with dry erase powder. You can pounce it on the margins or you can actually rub it a bit. I use it on all my larger projects.
A lot of my colored pencil students are used to seeing a Mr. Clean Magic Eraser on my supply lists. And I do use my magic sponge a lot. It’s a great tool for cleaning up the margins at the very end of a project.
But I use the dead mouse DURING the project. It’s preventative maintenance making the Magic Eraser cleanup that much easier at the end.
At the end of each day’s coloring session, I pounce the mouse around the margins and rub anything that looks dingy.
Dead mouses (mice?) actually work best on graphite dust but I think they also help to keep skin oils from settling deep into the paper. Hand oil isn’t always obvious until it starts to yellow with age. So one day you’ll walk past a framed piece of art over the couch and see all your grimey paw prints which were not there the day you framed it… Yep. True story.
I keep my dead mouse on my desk in a little bowl because they shed.
Admittedly, I only use it about once a day, so it really could go into a drawer BUT having it out serves as a reminder to use it.
10. Plate Stand
You know how grandma has little decorative plates on a shelf?
Well, I stole one of her plate stands. Actually, it was my mother’s but she inherited it from her mother who probably inherited it from her mother…
Apparently it’s a thing in my family.
Anyway, I stole a plate stand. It’s this little foldy thing that props a plate upright so that your grandchildren can wonder why anyone would buy a dinky plate with “Welcome to Carson City!” on it.
No, I do not have dinky plates on my desk.
The last thing I do every night before turning out the studio lights is to stand-up my current project.

I make sure that my project is the first thing I’ll see when I return the next day.
I talk about fresh eyes in an article here. You need a mental break from your projects in order to see them as your audience will see them.
The other cool thing about fresh eyes is that fresh eyes help you find trouble spots and issue zones. Areas that haven’t been pushed enough, spots that need more brightness, and objects that look flatter than they should.
When you see a project for the first time in several hours, pay attention to the first three things your brain notices. Chances are, they are the things you need to fix.
It’s not enough to leave the project flat on your desk.
The angle skews your view and you really need to see the art from a distance anyway.
But also, a project just laying on a desk is invisible to friends and family. They set the mail on my art. They drop packages on my art. The cat sleeps on my art. One kid fingerpainted with butter on my art.
Not. Kidding.
Plate stands solve this issue. Nobody, not even the cat will take a piece of artwork off a plate stand to paint it with butter.
Plate stands tell the world, “Back off buddy! If you use this as a coaster, I will kill you in your sleep!”
So there you go!
10 tools I use on a daily basis
I use them so often, they never get put away.
WAnt to use Your new found Tools knowledge?
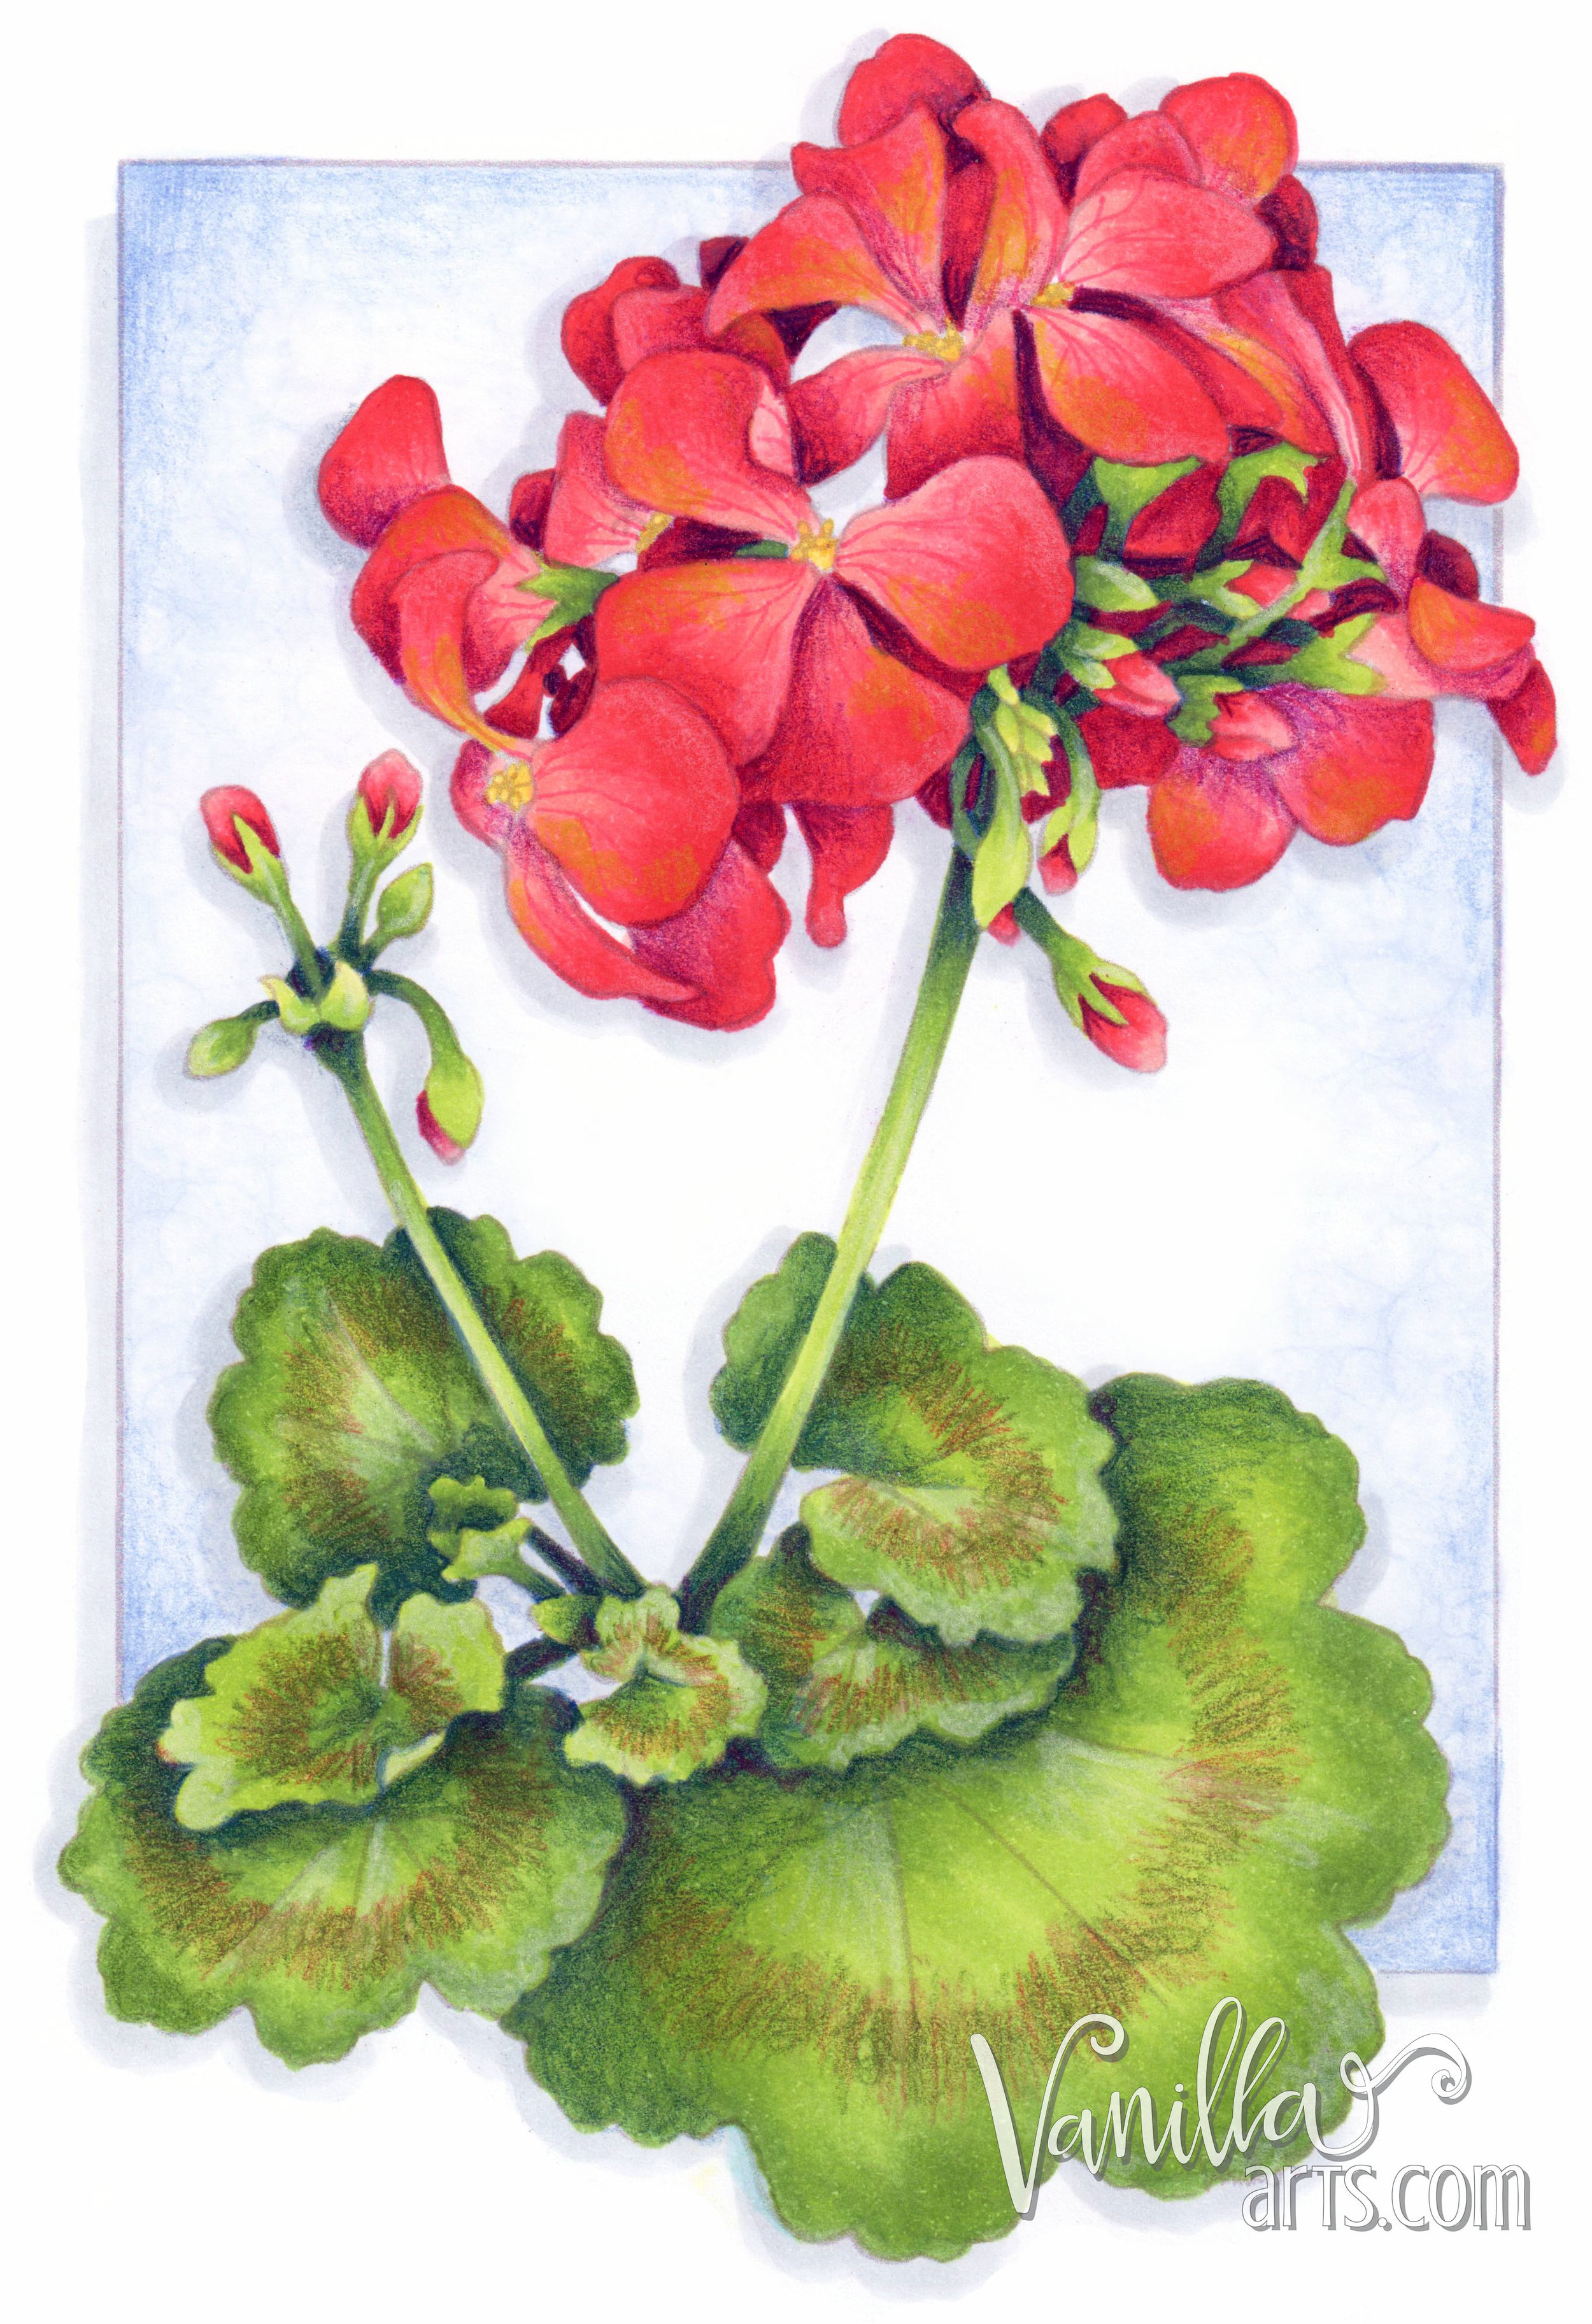
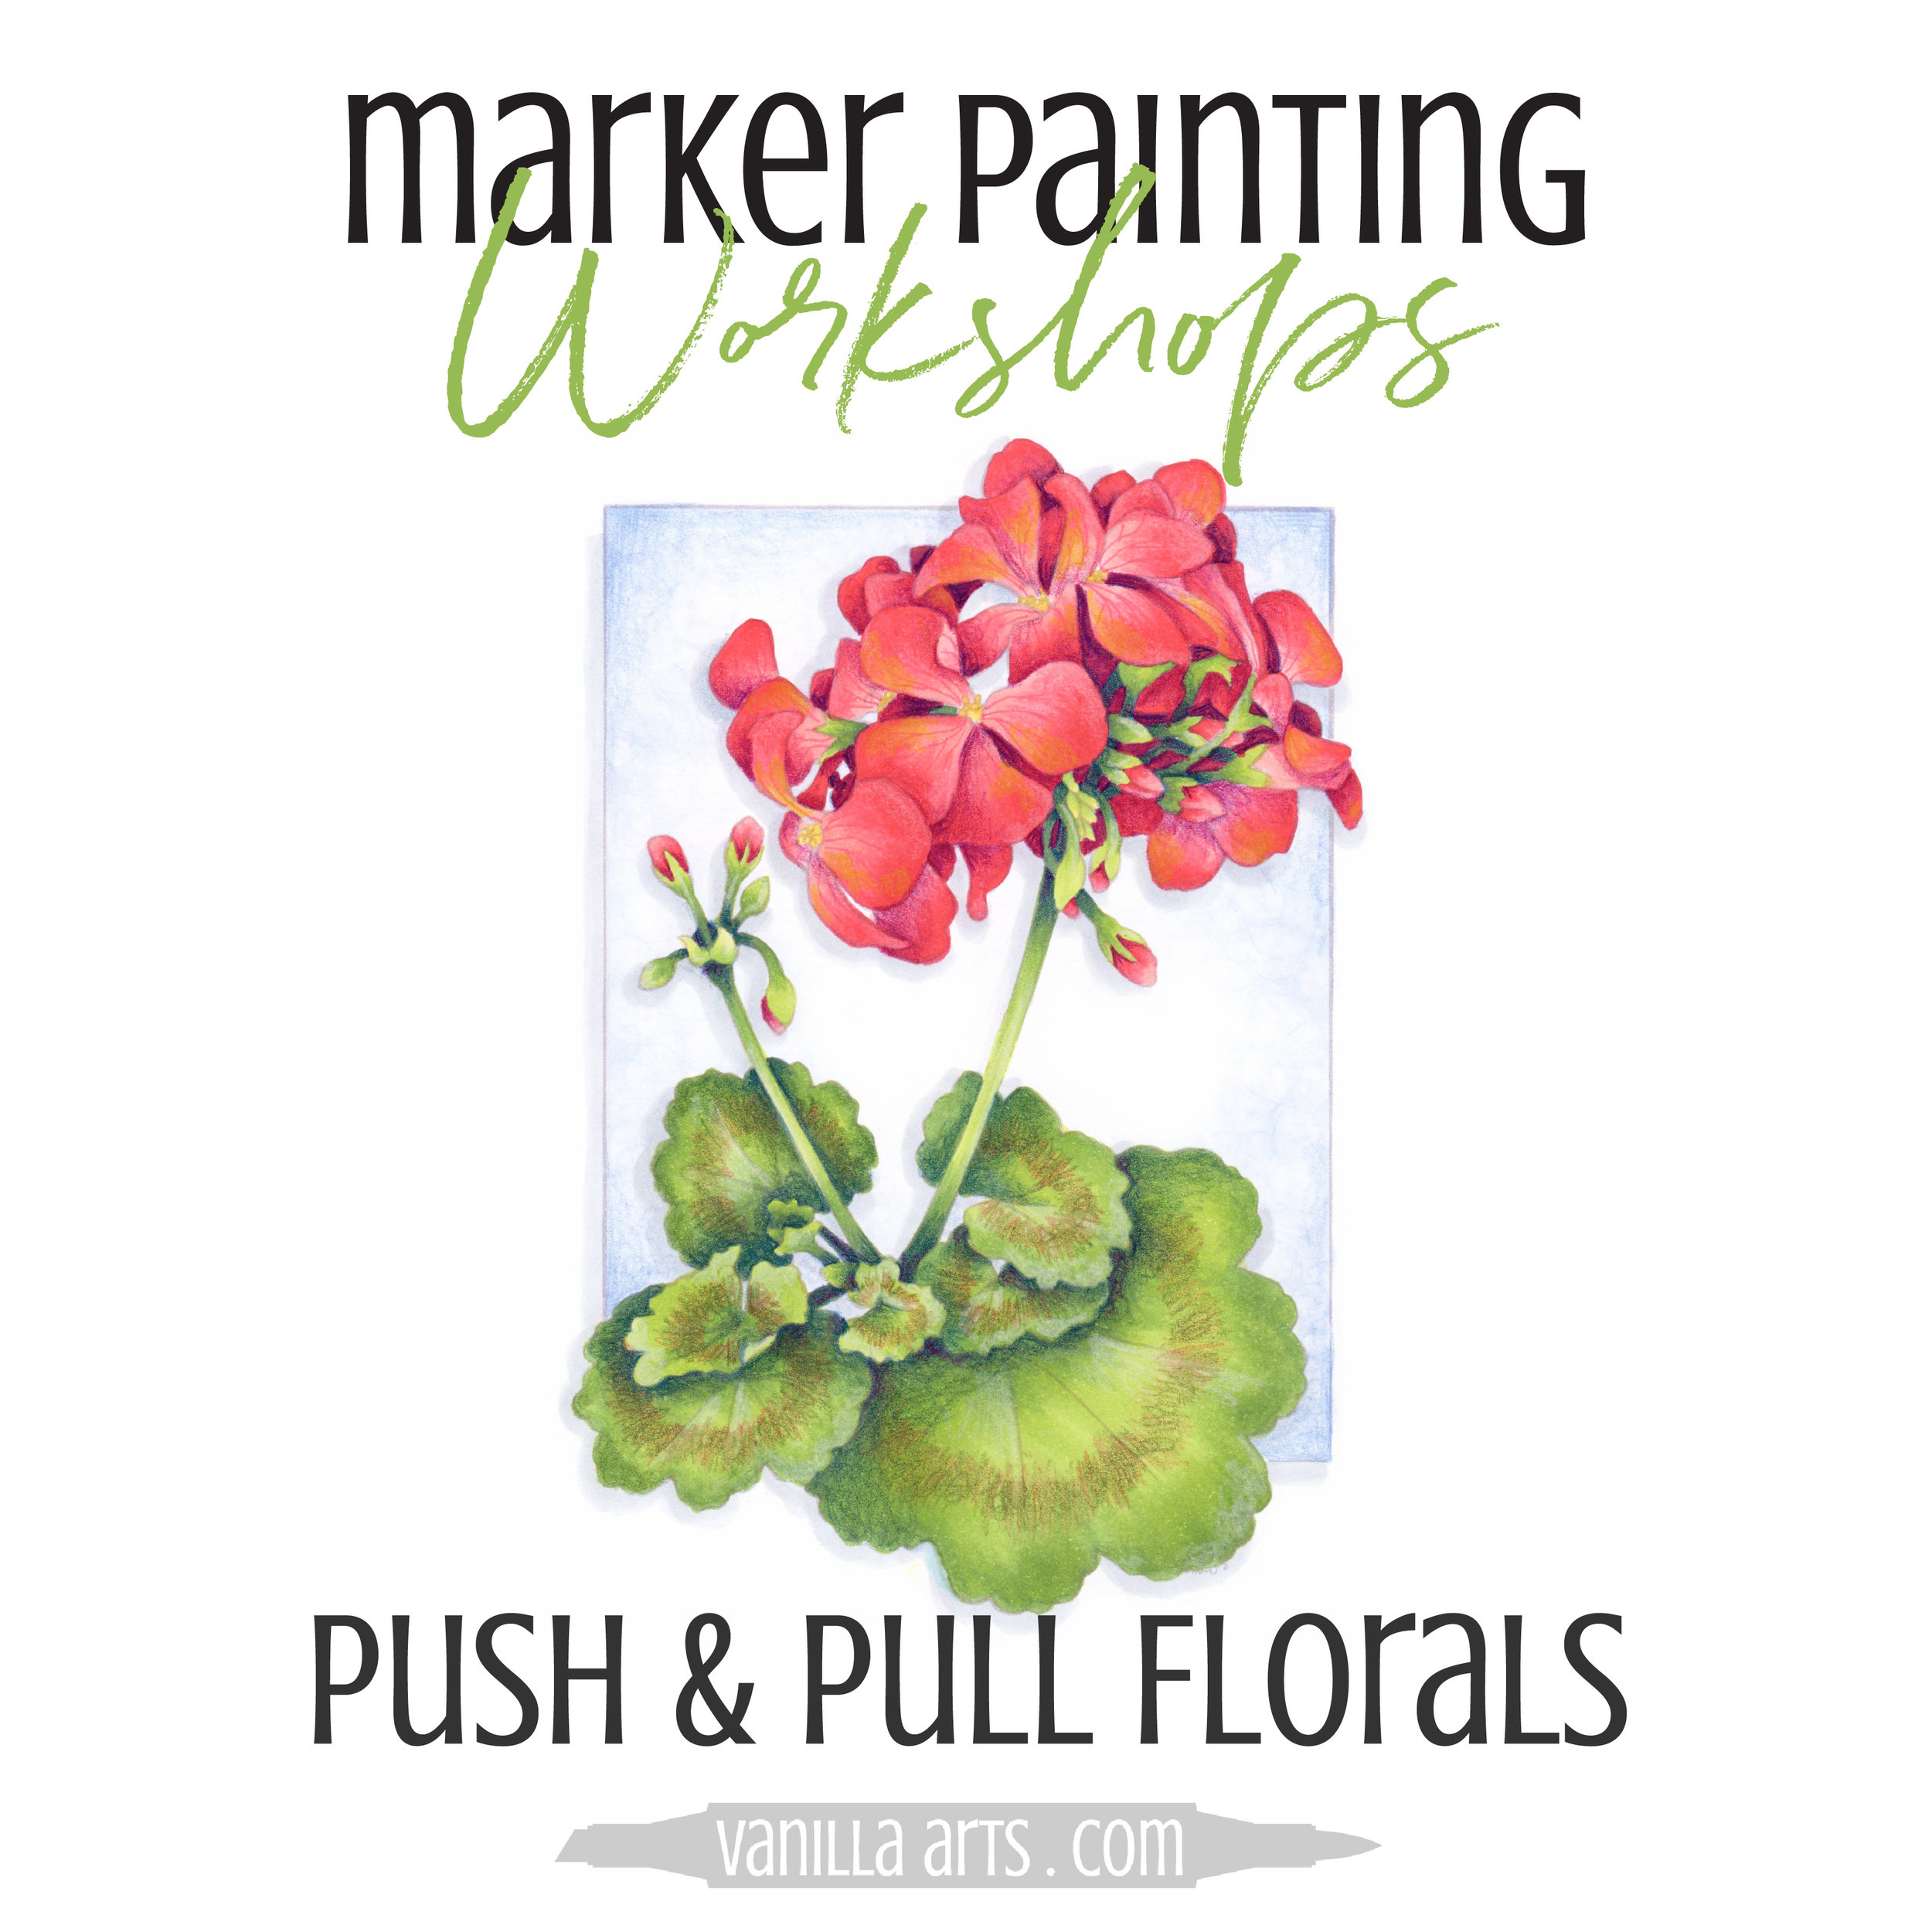
Take Scarlet Geranium, a Marker Painting Workshop.
Scarlet Geranium originally ran as part of my Marker Painting Basics series at Patreon in August 2017.
This amazing class and the digital stamp have been unavailable until now!
Scarlet Geranium, Calendula, and Sakura Blossom all work hand in hand to teach you the intermediate approach to coloring florals.
Sakura Blossom covers the development of bold pastels using color groups.
Calendula covers overpainting and uses complements to create accurate shade.
If florals are you jam, you can’t miss this total approach to realistic flower color. Stop coloring petals and start creating flowers!
The best thing about Marker Painting Workshops?
Workshops are NON-SEQUENTIAL!
Learn to incorporate real artistry into your coloring projects, one concept at a time. Every Workshop details a new method for enhancing realism, depth, and dimension.
Each class stands on its own as independent learning. You don't have to take six of my other classes to understand this lesson.
All of my Workshop classes are FOREVER ACCESS. Work at your own pace and repeat the project as many times as you'd like.
Come color with me. It's a ton of fun!

Supplies used in “Scarlet Geranium”:
(contains affiliate links)
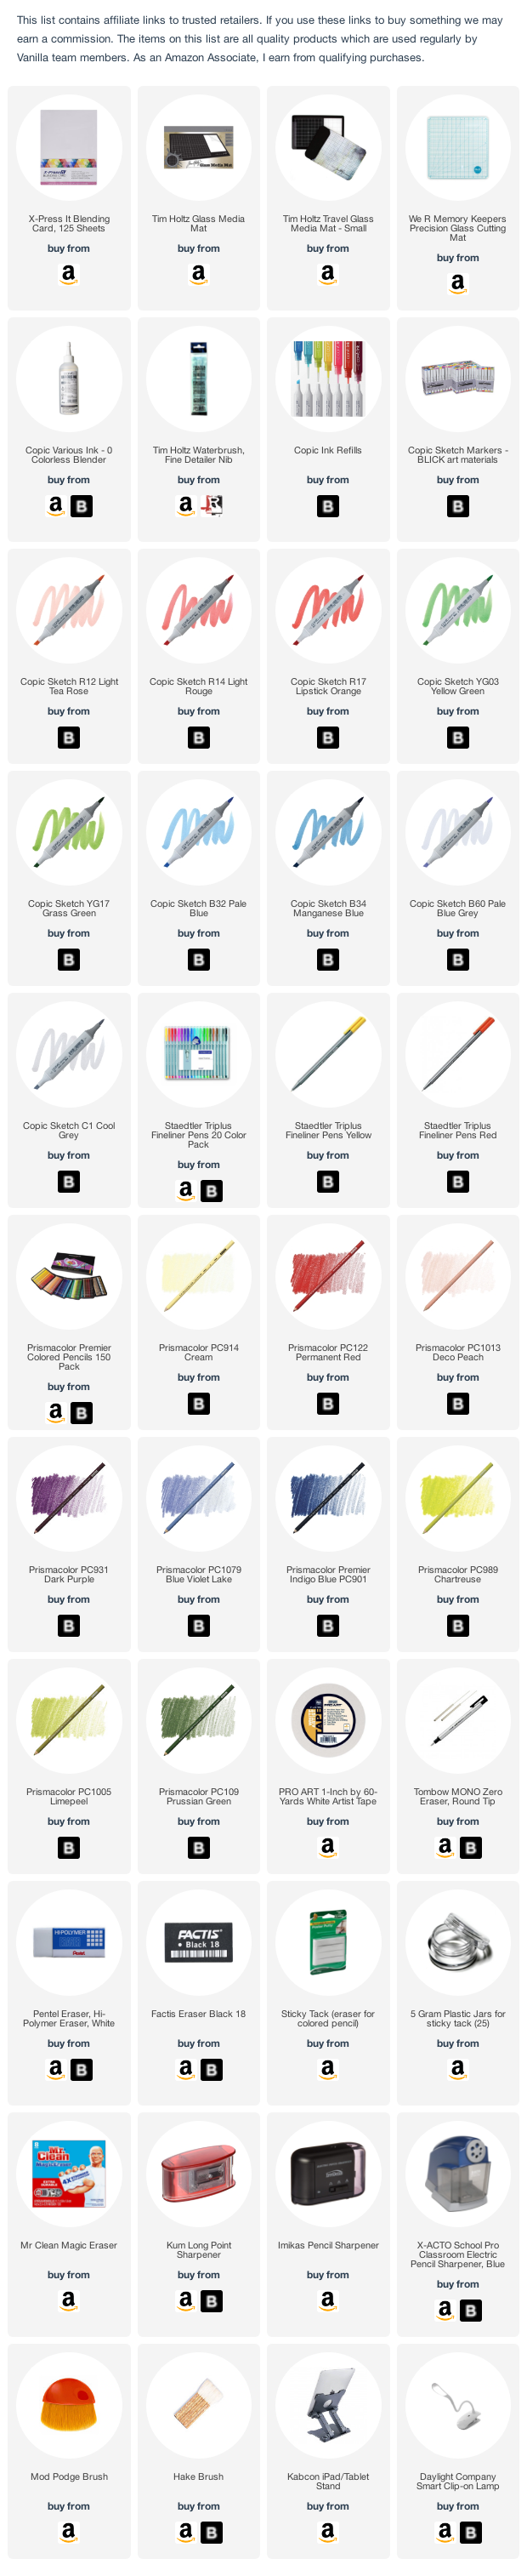
Vanilla Arts Company is a participant in the Amazon Services LLC Associates Program, an affiliate advertising program designed to provide a means for use to earn fees by linking to Amazon.com.