3 Secret Coloring Steps you won't find in tutorials (improve your coloring!)
Secret Knowledge?
Hidden steps to coloring?
Are there quiet things that bloggers and instructors do with their Copic Markers and colored pencils which they never show or discuss?
You bet'cha!
Today, I'm going to spill the beans and tell the tales.
Because your coloring projects will run smoother and turn out better once you know the secrets!
Why all the secrecy?
First, let me take a moment to defend the coloring teachers, bloggers, and YouTubers.
It's not like we all met at midnight in a cemetery and made a blood oath never to share certain steps of the coloring process.
Nope.
Or maybe they do?
Okay, let me just say that if there was a secret meeting, I wasn't invited.
(Great. Just dandy. Now I get to worry about missing the secret meetings. I'm ALWAYS the last one to find out!)
Anyway, I'm pretty sure there are no secret meetings. But even if there were, that's not why these secret steps are missing from your favorite coloring tutorials.
It's more of a marketing thing.
We want to communicate with you quickly and efficiently through short articles and absorbable video. Teachers want to walk you through the most important steps and hit the key elements to every project.
We edit tutorials for brevity & clarity.
And to be honest, I didn't realize this editing was a problem until I overheard some students marveling about my color intuition.
Not good!
What students assumed to be mystical genius is actually a lot of mundane and ordinary steps which I never show or talk about in my classes, on my blog, or in my videos.
Not anymore. Today, the cat comes out of the bag.
For every project you see online, for every class project you love and admire, there are 3 pre-steps which won't be found on any step-by-step tutorial.
Here are the three secret steps I do for every single coloring project. The things bloggers and tutorial creators never show:
1. Swatch & Test
Beautiful color palettes and perfect blending combinations are not whispered into my ear by my fairy godmother.
No ma'am.
She's offered me some dumb glass shoes and I'm friendly with a couple of her talking mice but my fairy godmother has never once offered me any coloring advice.
Now that I think about it, my fairy godmother is rather useless.
Instead, I'm stuck color-swatching the heck out of everything.
It doesn't matter if it's Copic Marker or colored pencil, I work my way through every single element of every image BEFOREHAND.
I start by swatching EVERY potential color combination.
Every. Single. Element.
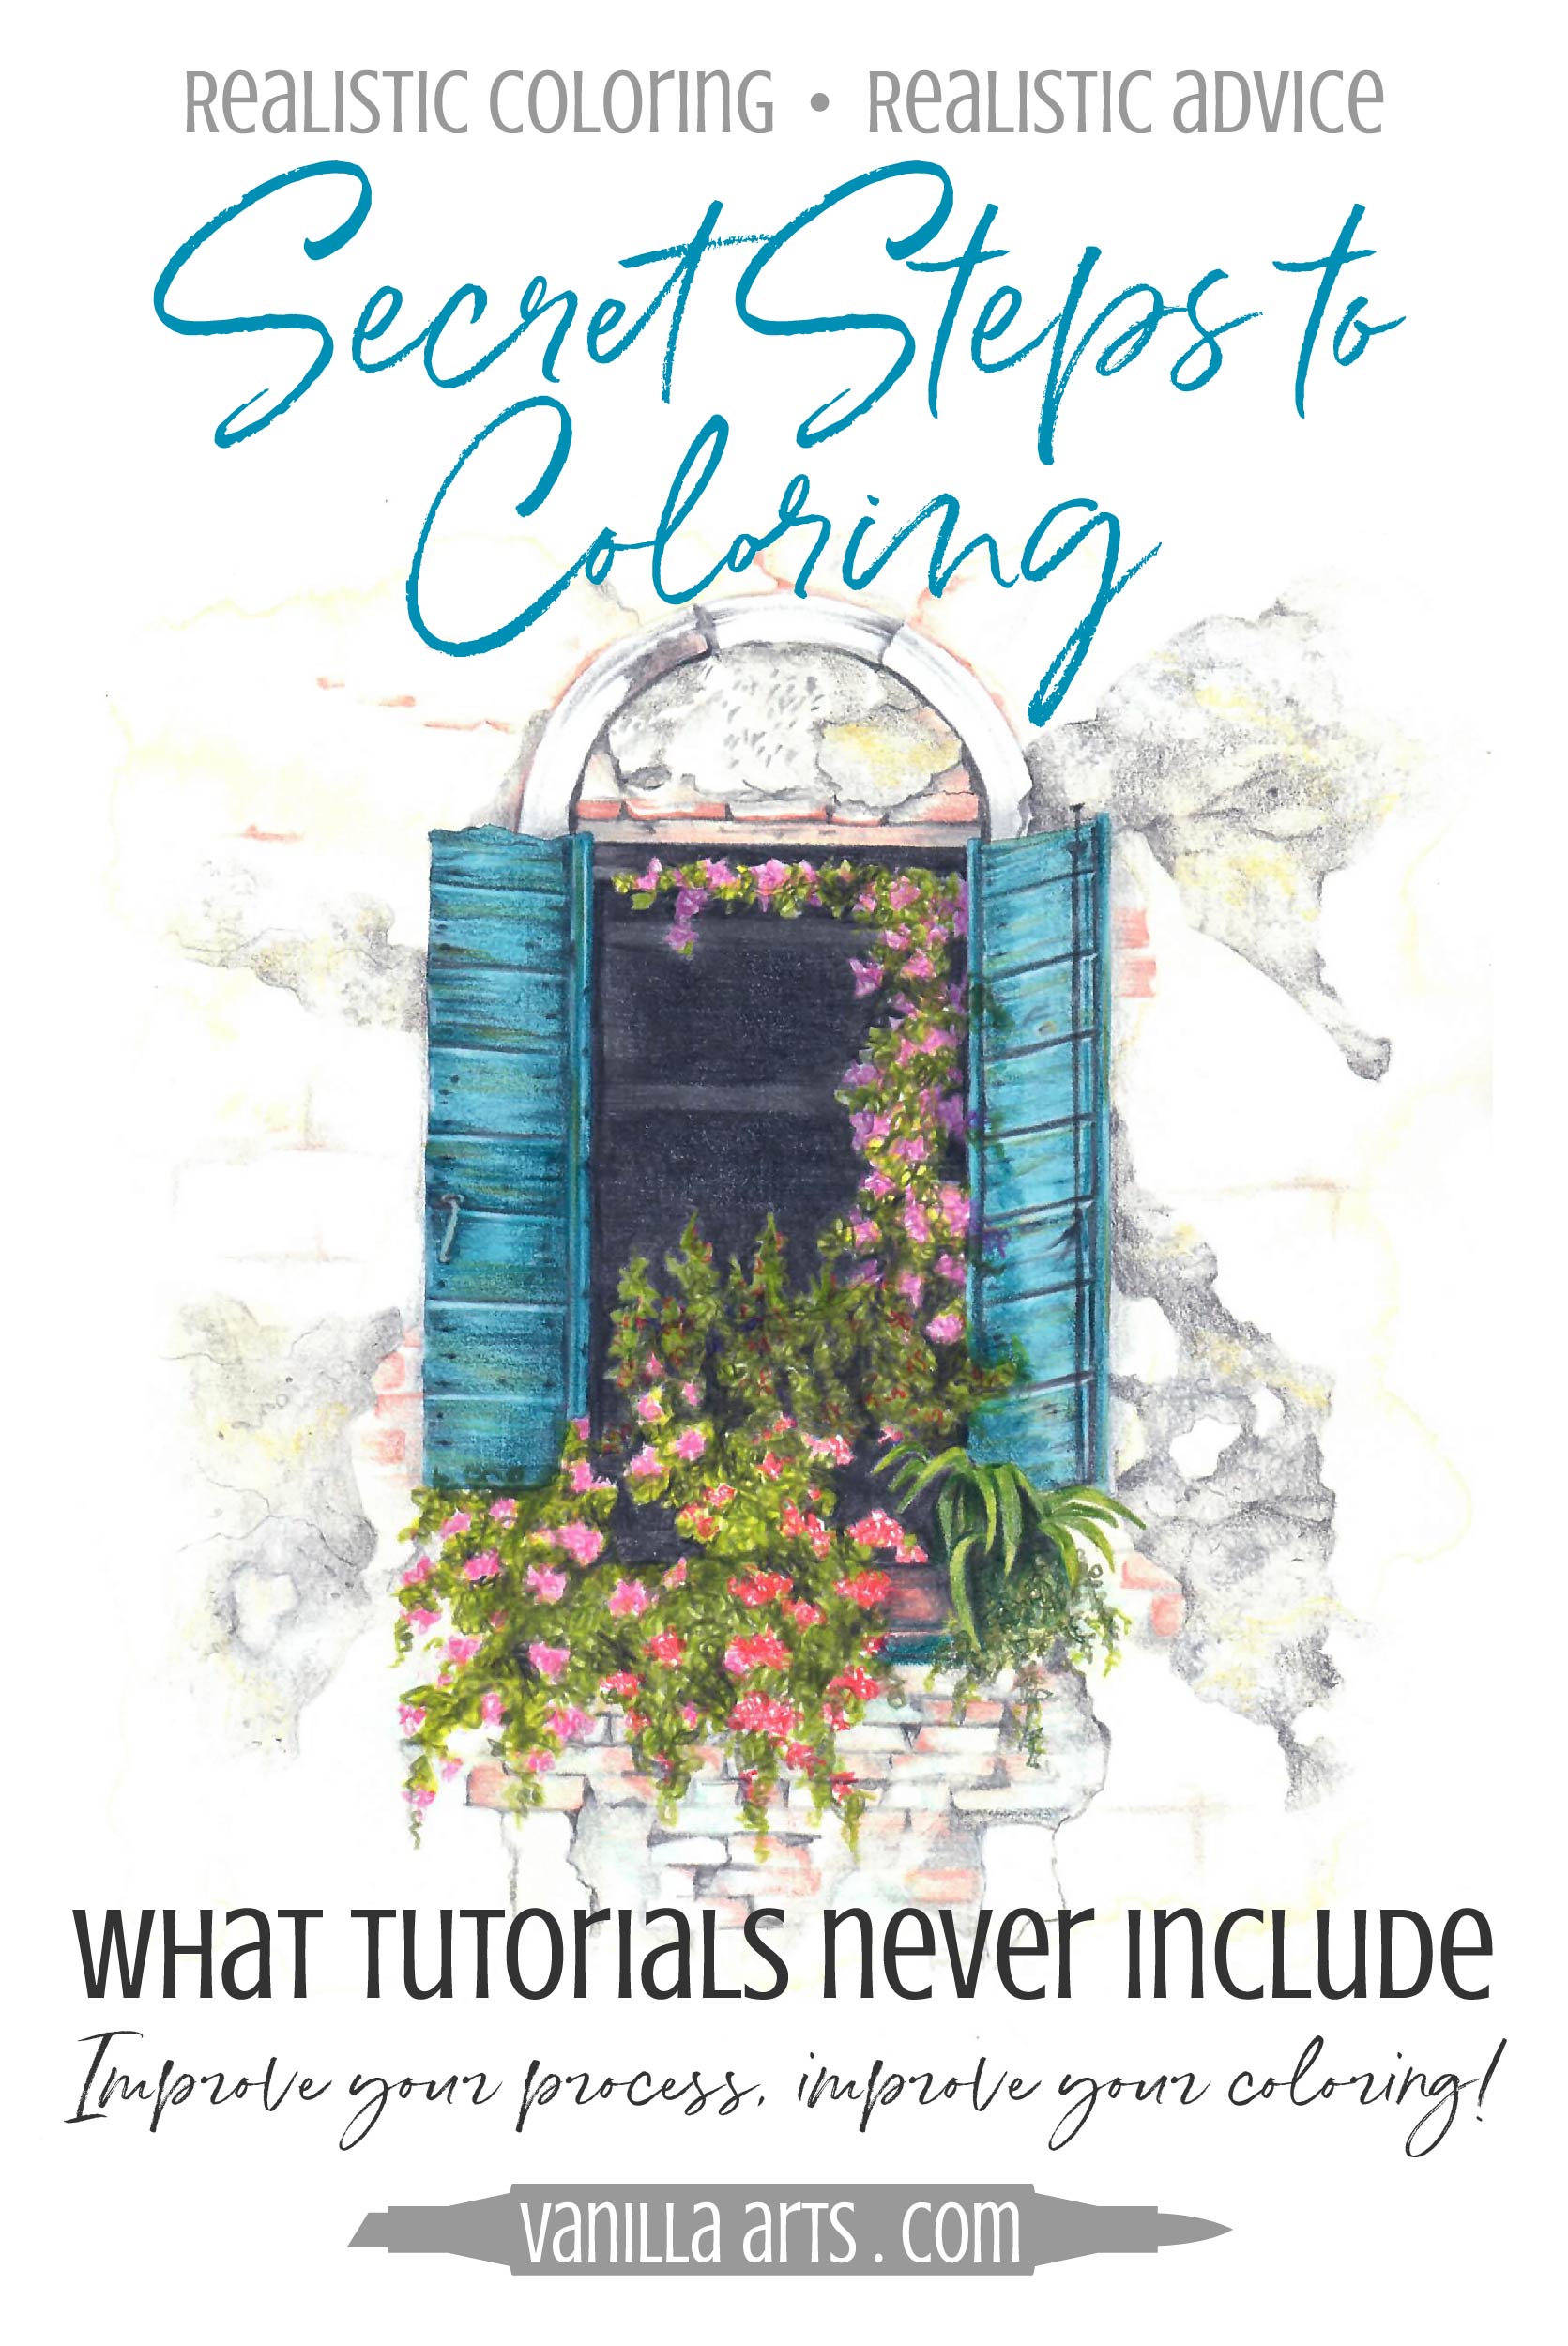
So for this window, I tested pencils for the shutters, for the greenery, for the flowers, the bricks, the stucco, the deep window, and even the spaces in-between the foliage.
Everything got swatched. Everything. And I don't mean once or twice. I may run through 5 to 6 color combinations before I hit on what feels right for the image.
And let me stop you right here... because most colorers have made lots of cute swatch rings, color charts, and inventory logs.
That's NOT what I'm talking about here.
There is a gigantic difference between color swatching and color swatches!
Color swatching is the act of physically trying out your potential colors and getting the feel for how the colors behave on one image.
That old color swatch page you dug out of your desk drawer tells you nothing about the project at hand. SWATCHING COLORS though? The testing process tells you everything!
See the difference?
Then I do a few color studies... little thumbnail sized experiments where I color all the various elements together to see if all my blending combinations work together as a whole color palette.
You don't see this step when I hand you a recipe guide, do you?
Please understand, there is leg work behind every supply list and there is testing behind every project.
Not just for me but for every instructor and tutorial author.
Sure, the better I get, the better my intuition gets. The testing process is faster once you live & breathe color everyday the way I do.
But there is always pre-testing. Always.
And let me lay this fact on you:
I will never be good enough to skip the testing phase!
So why don't we blog more about testing? Why isn't this step number one in every tutorial?
Well, it's mundane and boring. "Test 40 pencils" doesn't make for interesting reading.
But trust me, we may not show it on the blog or in the class but it definitely happens.
Professionals do not sit down with a blank image and grab markers willy-nilly...
Oh, but grasshopper, that's exactly what most of you do, eh?
YOU try to color without pre-testing and swatching, don't you?
That's a problem we bloggers have created.
By not sharing our experimentation step, coloring instructors have left you to assume that the way we color amazing projects is to hope and pray that our fairy godmother guides our hand to wise selections.
But smart colors are planned. Beautiful color is laid-out ahead of time. The pros create a blueprint before they color.
Test it all. Test everything before you start. That's a hidden step!
2. Thought & Meditation
You are aware that bloggers and YouTubers work ahead of time, right?
If your favorite artist puts out a new tutorial like clockwork every Saturday, that consistency is the result of advanced planning.
We don't just hit post on an article written 10 minutes ago. (Okay, confession time... sometimes we do). But for the most part, everything we published was planned out in advance. It was physically created days or weeks before it went public.
Fun fact... but how does it improve your coloring?
Well, here's the dirty secret... because of the scheduling buffer, I know what stamps I'm going to draw months in advance. This gives me a lot of time to ponder the best way to present my ideas.
This stuff sits in the back of my brain and marinates for a long time before my fingers get busy.
Which is why this project is a window and not a door.
Yes, this idea started as a doorway-- a blue door with a brick arch above it, just like the cute little house in my village which I pass every day, only grungier.
I thought about adding a rusty bicycle to the side. I thought about a worn welcome mat with boots. I thought about a mailbox with a red scarf hanging from it. Once it became a window, I thought about a cat sitting inside.
Finally, when I decided that the window would become an advanced project, I simplified it all in favor of finding an ideal photo reference which the students could follow really closely.
Pre-planning provides time to think.
The blog schedule also gives me time to change my mind AFTER I've colored each project. If something isn't singing, I can think about what went wrong and re-color it to meet my expectations.
But I'm betting you don't have a time buffer.
You buy the stamp, color the stamp, and ship out the card the next day, right?
You're missing the editorial process and the improvement phase when you color everything just-in-time.
Time is an important step to getting professional results. It was built into my free-lance career and I use it today in my teaching process.
Give yourself time to think and re-think. Extra thought and care is always good, even if you're simply coloring a commercial stamp. Meditation and brainstorming will improve the quality of your project presentation.
3. Try again
I'd love to brag that I color everything perfect the first time.
Not even close.
Even with all the thought and planning, all the color swatching, and the color studies... scrap happens.
Scrap happens, a lot.
Halfway is a sad time to realize that the champagne looks too orange, even if the swatches indicated a good golden marker combination.
Two-thirds of the way into the second attempt is a bad time to decide that the gray is too dark and the whole thing looks somber.
I've made both mistakes in the past month.
It's not just my own original drawings where I mess up.
Even very popular commercial stamps go awry in the coloring process. Just because it has already been colored by 500 other people doesn't mean you're going to get it right the first time.
Scrap happens.
And accidents. They happen too.
When I drop my markers it always lands in the white background area.
Sometimes I pick up the wrong marker and color the grass red. My Copics explode just like yours. I've spilled every beverage known to man on my projects.
I've also had a toddler smear I Can't Believe It's Not Butter on an illustration right before I was set to mail it off.
And yet I've never seen and I've never written a tutorial which included:
3. Start over again because you got a paper cut and now there's a blood streak on the lower right margin.
Scrap happens.
Irreparable mistakes are so common that it should be a standard step in every tutorial.
It's not just you. The professionals start over too.
Everyone does.
I'm telling you this to keep you from beating yourself up when it happens. A little less stress and a little less self-hatred will help when you inevitably start the project over.
But I'm also mentioning it to knock a bit of the glare off the halo you've placed over some of your coloring heroes. They aren't perfect either. They put their underwear on backwards too.
Professionals start over. Scrap happens to us all.
Holding yourself to some unattainable standard makes you unhappy.
To color well, you need joy and confidence. Don't get down on yourself when scrap happens.
It's going to happen. Again and again and again.
Pick yourself up and move on with no remorse.
So there you go! 3 secret steps for every coloring project
You won't see them listed in the step-by-steps but they're there.
1. Start color swatching and palette planning.
You'll get better results from testing on scrap paper than testing directly on your project.
2. Give yourself time before and after coloring.
Pre-evaluation and re-evaluation are an editorial process that the professionals never skip (and if we do, we regret it!)
3. Scrap Happens.
Try again. No regrets.
Think of these steps as the prequel to your next coloring project. Even though the tutorial doesn't mention them, these steps are built into the author's process. Adding them to your coloring routine will improve the look and professionalism of your projects.
Products used in Window Box:
(Affiliate links, not all materials shown)
Vanilla Arts Company is a participant in the Amazon Services LLC Associates Program, an affiliate advertising program designed to provide a means for use to earn fees by linking to Amazon.com.


