How to Color Realistic Night Scenes with Markers and Colored Pencils

HOW TO COLOR A REALISTIC NIGHT SCENE
Every year around Halloween, you find a stamp or line art that would look perfect with a midnight background.
Trick or Treaters, Jack o’ Lanterns, spooky ghosts or a haunted house. Or maybe it’s not Halloween. Perhaps it’s a campfire setting or a snowy Christmas Eve.
No matter what the project, your solution is usually the same.
You pull out the black background paper— either coloring directly on the black or you color on white and glue the cut-out image on black paper later.
The problem is, black paper doesn’t look like a realistic night scene.
It’s cute but it’s not convincing.
Do you need stars in the sky? A big full moon?
Suddenly this starts to get complicated and nothing you try looks very real.
What’s the secret to coloring a dark night setting?
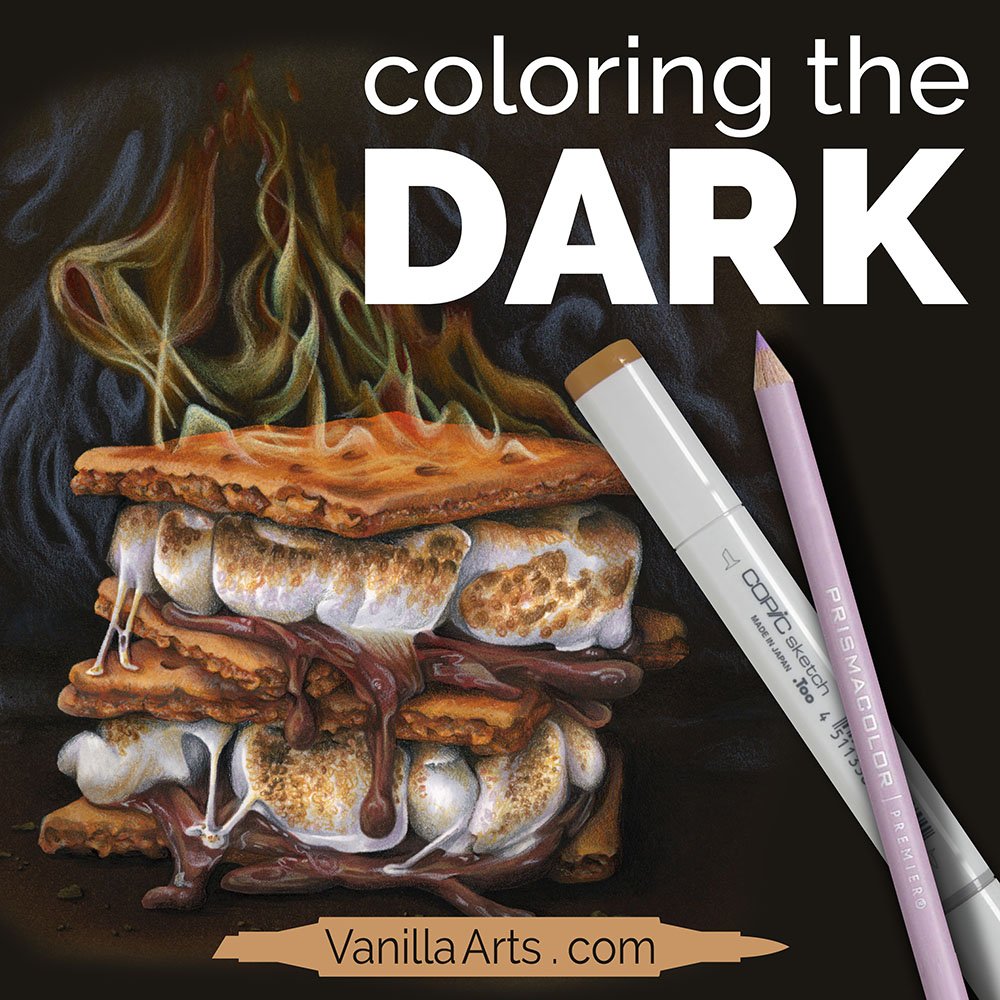
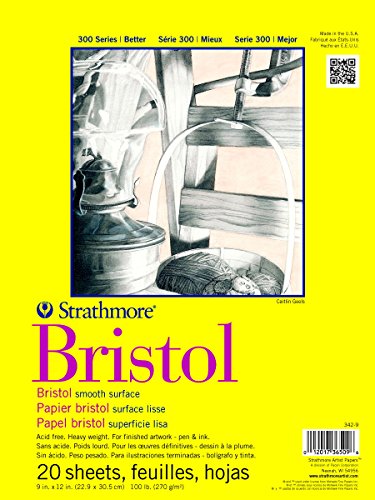
“Flamin’ S’mores”. Copic Marker + Prismacolor Premier Colored Pencil on Strathmore 300 Smooth Bristol. 12×12” by the author, Amy Shulke.
WATCH: THE TRICK TO COLORING NIGHT SCENES
(project supply list at end of this article)

Video not playing?
If your device blocks embedded video, click here to watch at YouTube.
TIPS FOR MIDNIGHT BACKGROUNDS
1. It’s actually not the background
Should you use black paper? Midnight blue? Deep purple, black-brown, or a gradient?
Do you need stars, a moon, or spooky night clouds?
Nope. In fact, night themed decorations usually make your coloring project look LESS realistic, not more.
A background is just a background. It’s not the focal point of the project. When your background starts to draw more attention than the focal point, it’s not really a background anymore, is it?
Instead of adding more doo-dads to the background, in the video, I’ll show you what to change in your project to create the perfect nighttime vibe.
2. Stop using bright colors
The biggest mistake colorers make when coloring night time scenes is to hunt for the brightest markers and pencils.
I’ve seen so many tutorials where people test their pencils on black paper to see which colors stand out on black, even basecoating everything with layers of white to increase the brightness.
Psssttt… take a look outside tonight after dark or turn out all the lights and look around the room. Do you see any bright colors? We’ll discuss this a lot more in the video!
LEARN MARKER + PENCIL COLORING TECHNIQUES

Marker with a dash of colored pencil…
The Blend - A 12 week online course for beginners/intermediates which focuses solely on smooth blending with Copic Markers. Learn to blend or improve your current blending technique with this intensive skill building approach to coloring.

Colored pencil with a touch of marker…
The Point - A 12 week online course for beginners/intermediates which focuses on efficient techniques for Prismacolor colored pencils. Learn to layer colors with confidence and artistry through this intensive skill building approach to coloring.
TECHNIQUES USED IN “FLAMIN’ S’MORES”

The following techniques can be spotted in the TRICK TO COLORING NIGHT SCENES video:
I masked my s’mores and then used a combination of Ground Espresso and Black Soot Distress Ink to color the white paper for the background. The entire Distress background took less than 10 minutes! The same effect from markers would take at least 30 minutes and it’d be several hours with colored pencil. Markers and pencils were simply not made for large backgrounds. Why fight with them when there are easier products?
There is no white in this image and even when I used a white pencil, I used it softly enough to prevent it from looking white. All the marker and pencil colors are 2-3 steps darker than you’d expect.
There’s a lot less colored pencil in this project than you think. The pencil is there to add texture or reflections but I didn’t block anything in with pencil the way I normally would.
COLOR A TASTY FALL TREAT
Flamin’ S’mores is an advanced level Artistic Coloring Kit + Video available at my line art site, Sketch-Garden.com
This project originally ran in fall of 2023 for members of my advanced independent group, The Underpainters.
Now you can purchase the same UP lesson including digital line art, 25+ page guidebook, and watch the exclusive Underpainters livestream. Unlock the secrets of nighttime coloring with this fun and challenging project.
Flamin’ S’mores digital kit is not a full step-by-step class.
Advanced students need encouragement to make their own decisions and select their own colors. The kit materials are very helpful and provide strong hints and tips but will not hold your hand through every detail of the process.


MORE AUTUMN PROJECTS
(click the pic for more info)


ADVANCED COLORING

INTERMEDIATE COLORING
WE TEST ORANGE INK

MAKE ORANGE BEAUTIFUL
UNDERPAINT ARCHIVE

SUPPLY LIST FOR “FLAMIN’ S’MORES”