Steps to Realism: Coloring beyond Smooth Blending Combinations (Copic Marker, Colored Pencil)


Want to color with more depth, dimension, and realism? Blending combinations and smooth coloring won’t get you there. In the Steps to Realism series, we teach the next steps beyond smooth blending. Add lifelike texture at the correct scale, with realistic color transitions for authentic shade and highlights. Improve your coloring with fine art techniques.

Now that you know how to blend with Copic Markers, What’s next?
For beginners, the initial challenge with Copic Markers or even colored pencils is learning how to blend smoothly. After that, you worry about collecting enough markers or pencils to be able to color everything you want to color.
Buy, buy, buy. Blend, blend, blend.
Which is why most beginners spend a lot of time swatching and saving tons of blending combination recipes— because now that you can blend, it’s just a matter of finding the perfect color recipes for all the animals, flowers, food items, and other miscellaneous objects.
Right?
You’re just one blending combination away from amazing realism, right?

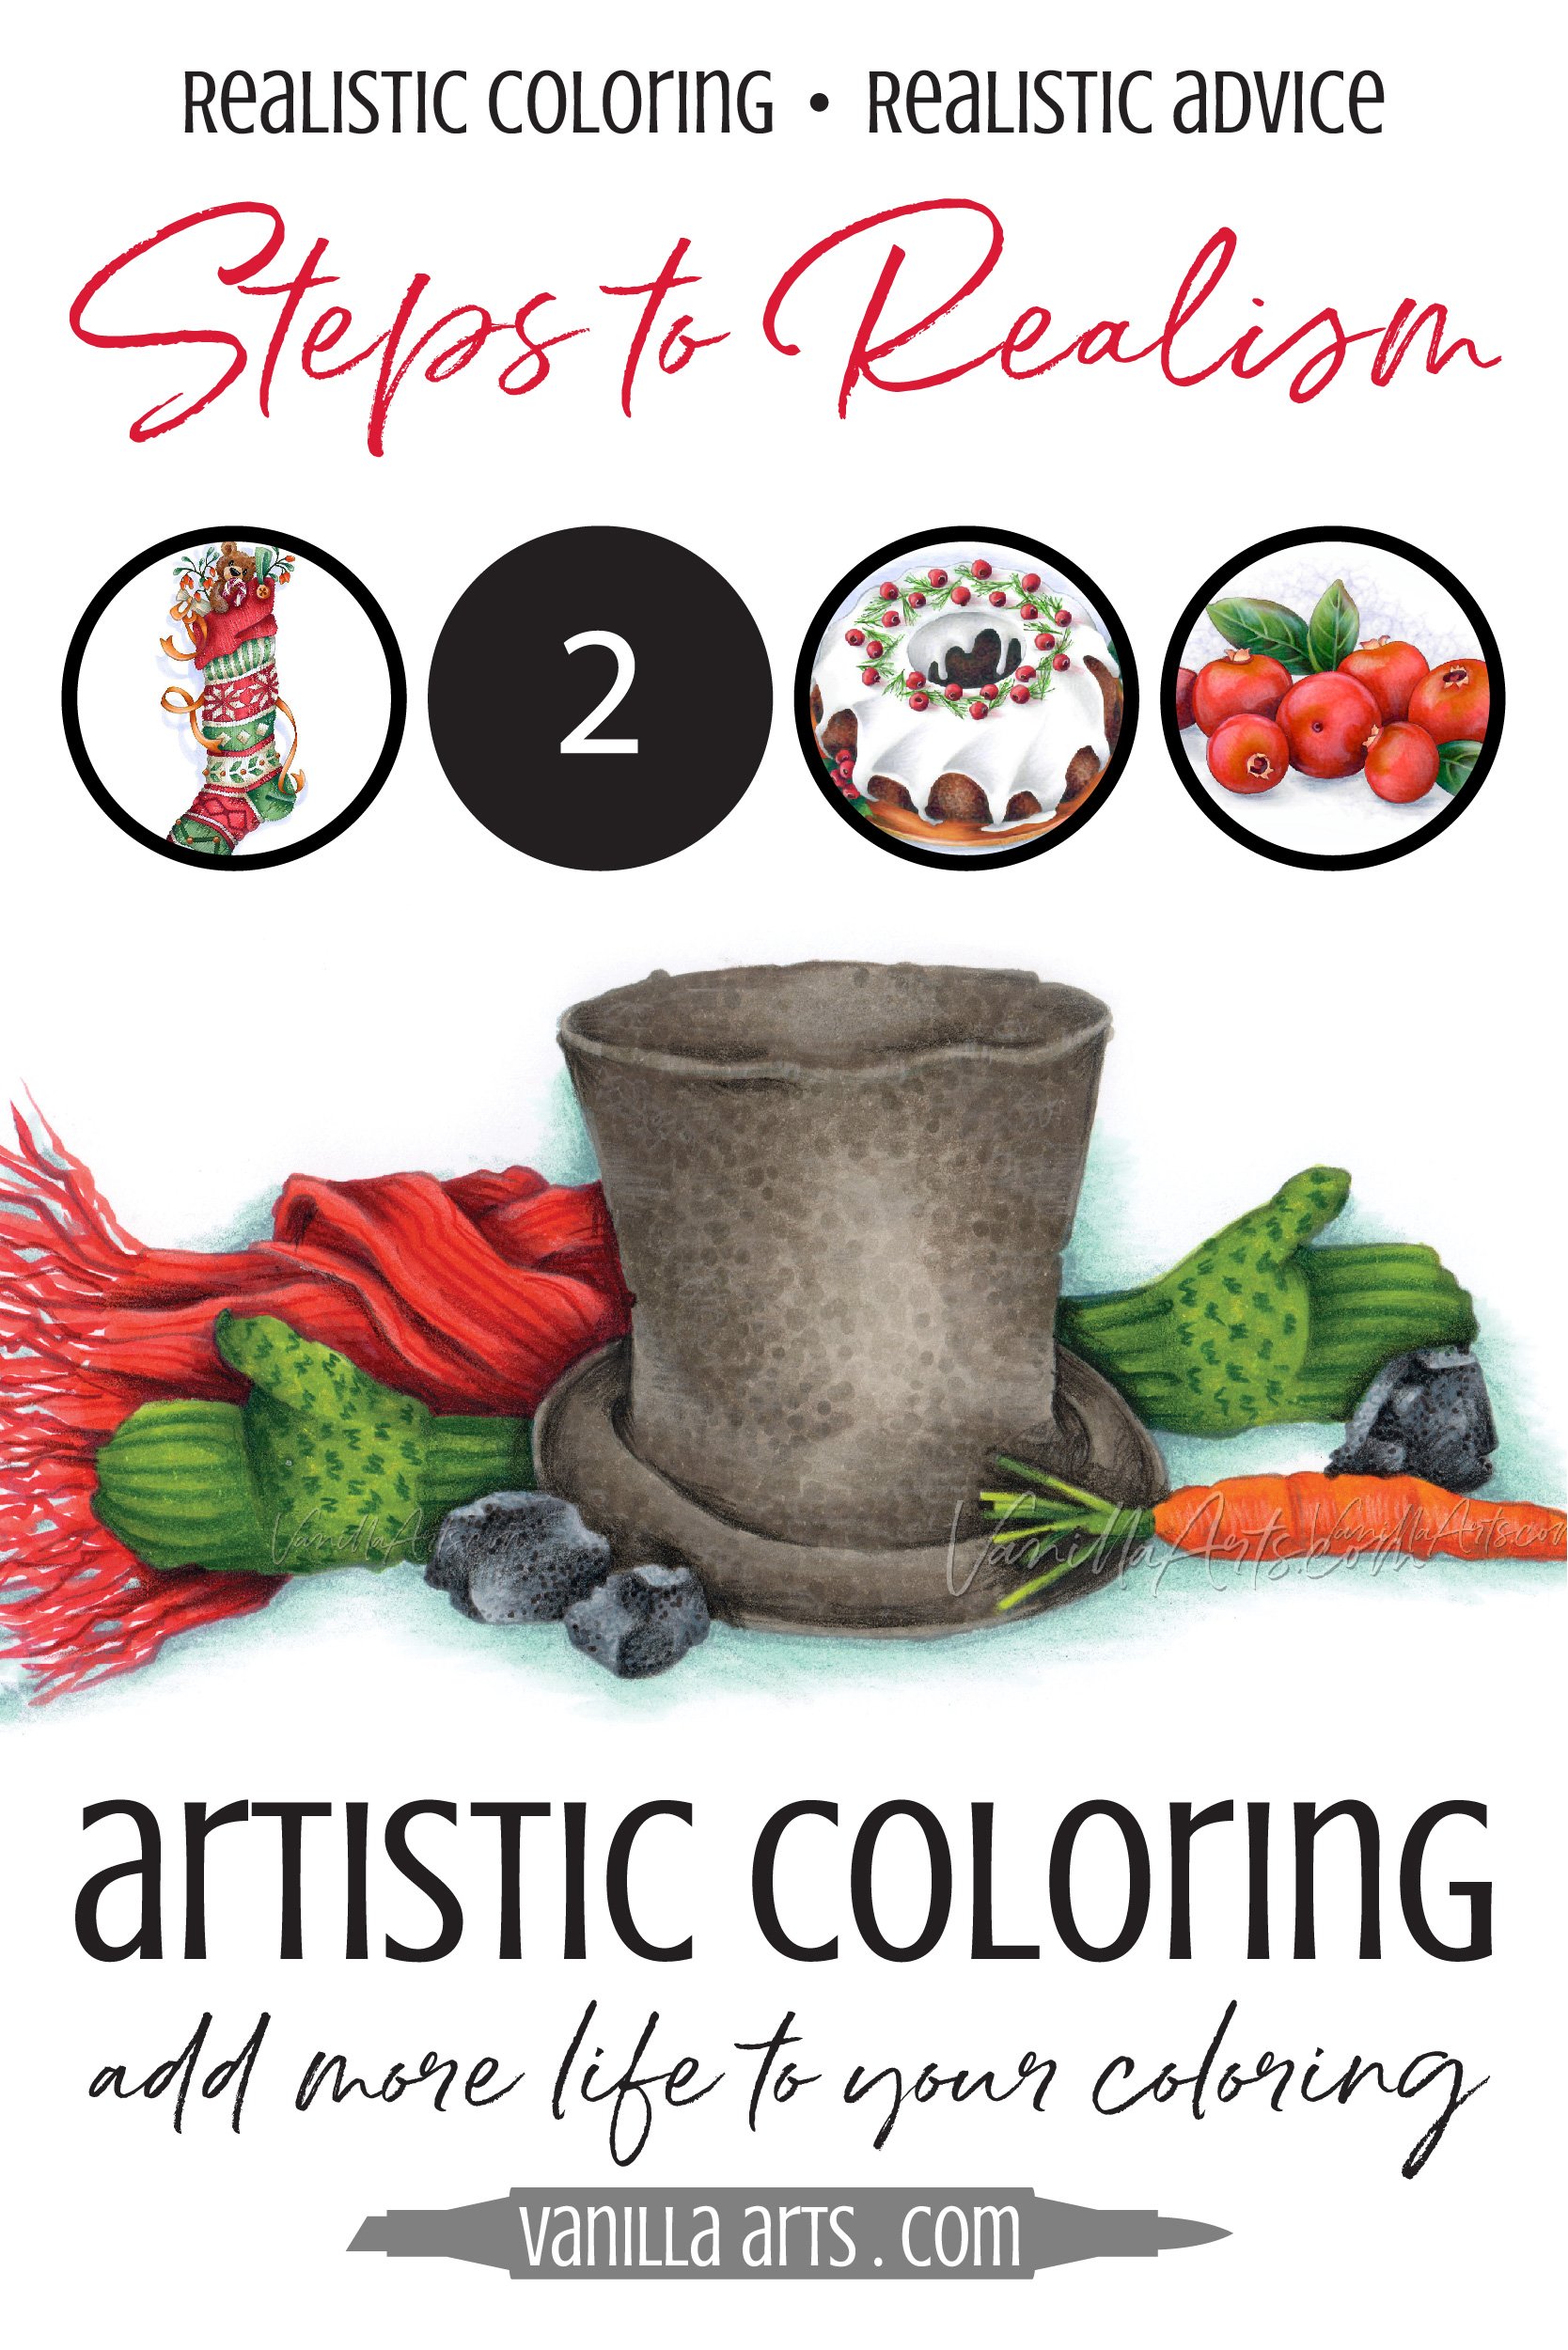
“Snowman Supplies” by the author, Amy Shulke. This original line art was colored with Copic Markers and Prismacolor Premier Colored Pencils. Snowman Supplies Workshop class is an introduction to realistic texture for everyday objects.
Ehhhhh, no.
Look, I know there are tons of classes and video tutorials which make it seem like life is just one blending combination after another.
But what you’re doing— blending all the time— is formulaic coloring.
It looks pretty cool but it’s not very realistic.
So maybe you just haven’t found the right blending combinations then?
Or maybe you need a class on shading?
Or maybe, or maybe, or maybe…
Stop.
Let’s get you off the merry-go-round of blending classes.
If you never do anything but blend, you’ll never color with depth, dimension, realism, and original artistry.
Here at Vanilla Arts, our goal is to get you out of your blendy comfort zone, helping you to color with realism and originality.
We’ve set up a series of beginner’s challenge classes, giving you the keys to move your coloring beyond smooth blending to greater realism.
You can do this!
Steps to Realism builds upon basic blending skills
Please note: our four part series of realism classes assumes you already know how to reliably create smooth color blends with Copic Markers.
We do not cover basic blending technique in the Steps to Realism series.
For starter beginner level classes, see our Marker Painting Foundations twelve-week course or individual lesson classes in the Marker Painting Workshops. All beginner classes are marked with a “B”.
What comes after Blending?
For most colorers, the thing that comes after blending is more blending.
Blending, more blending, and even more blending.
Many people learn to blend and then continue blending for a lifetime.
But there’s a whole world of realism beyond standard blending technique.
These are the same concepts taught in fine arts drawing and painting classes, techniques used by amazing artists everyday.
We’ve broken down the basic keys to adding realism in a series of four classes. Each lesson takes one simple baby step towards coloring with more realism, actual photo-realism, or even hyperrealism.
It’s really not about talent and you can learn the skills.
Anyone can do this.
You can learn to color with realism.


Step One: Coloring larger
Step one starts with your existing blending skills and teaches you to color on a larger scale.
Most hobby colorers start with clear, cling, or rubber stamps designed to fit on small card fronts. Even when you move to digital line art, you still tend to print coloring projects at card size.
Small is what you’re comfortable with.
Even coloring books are designed small coloring. Sure, the line art may cover an entire page but the individual spaces are broken into bite-sized bits, because the author/illustrator is trying to appeal to small-scale colorers.
But to color with realism, you need room for realism.
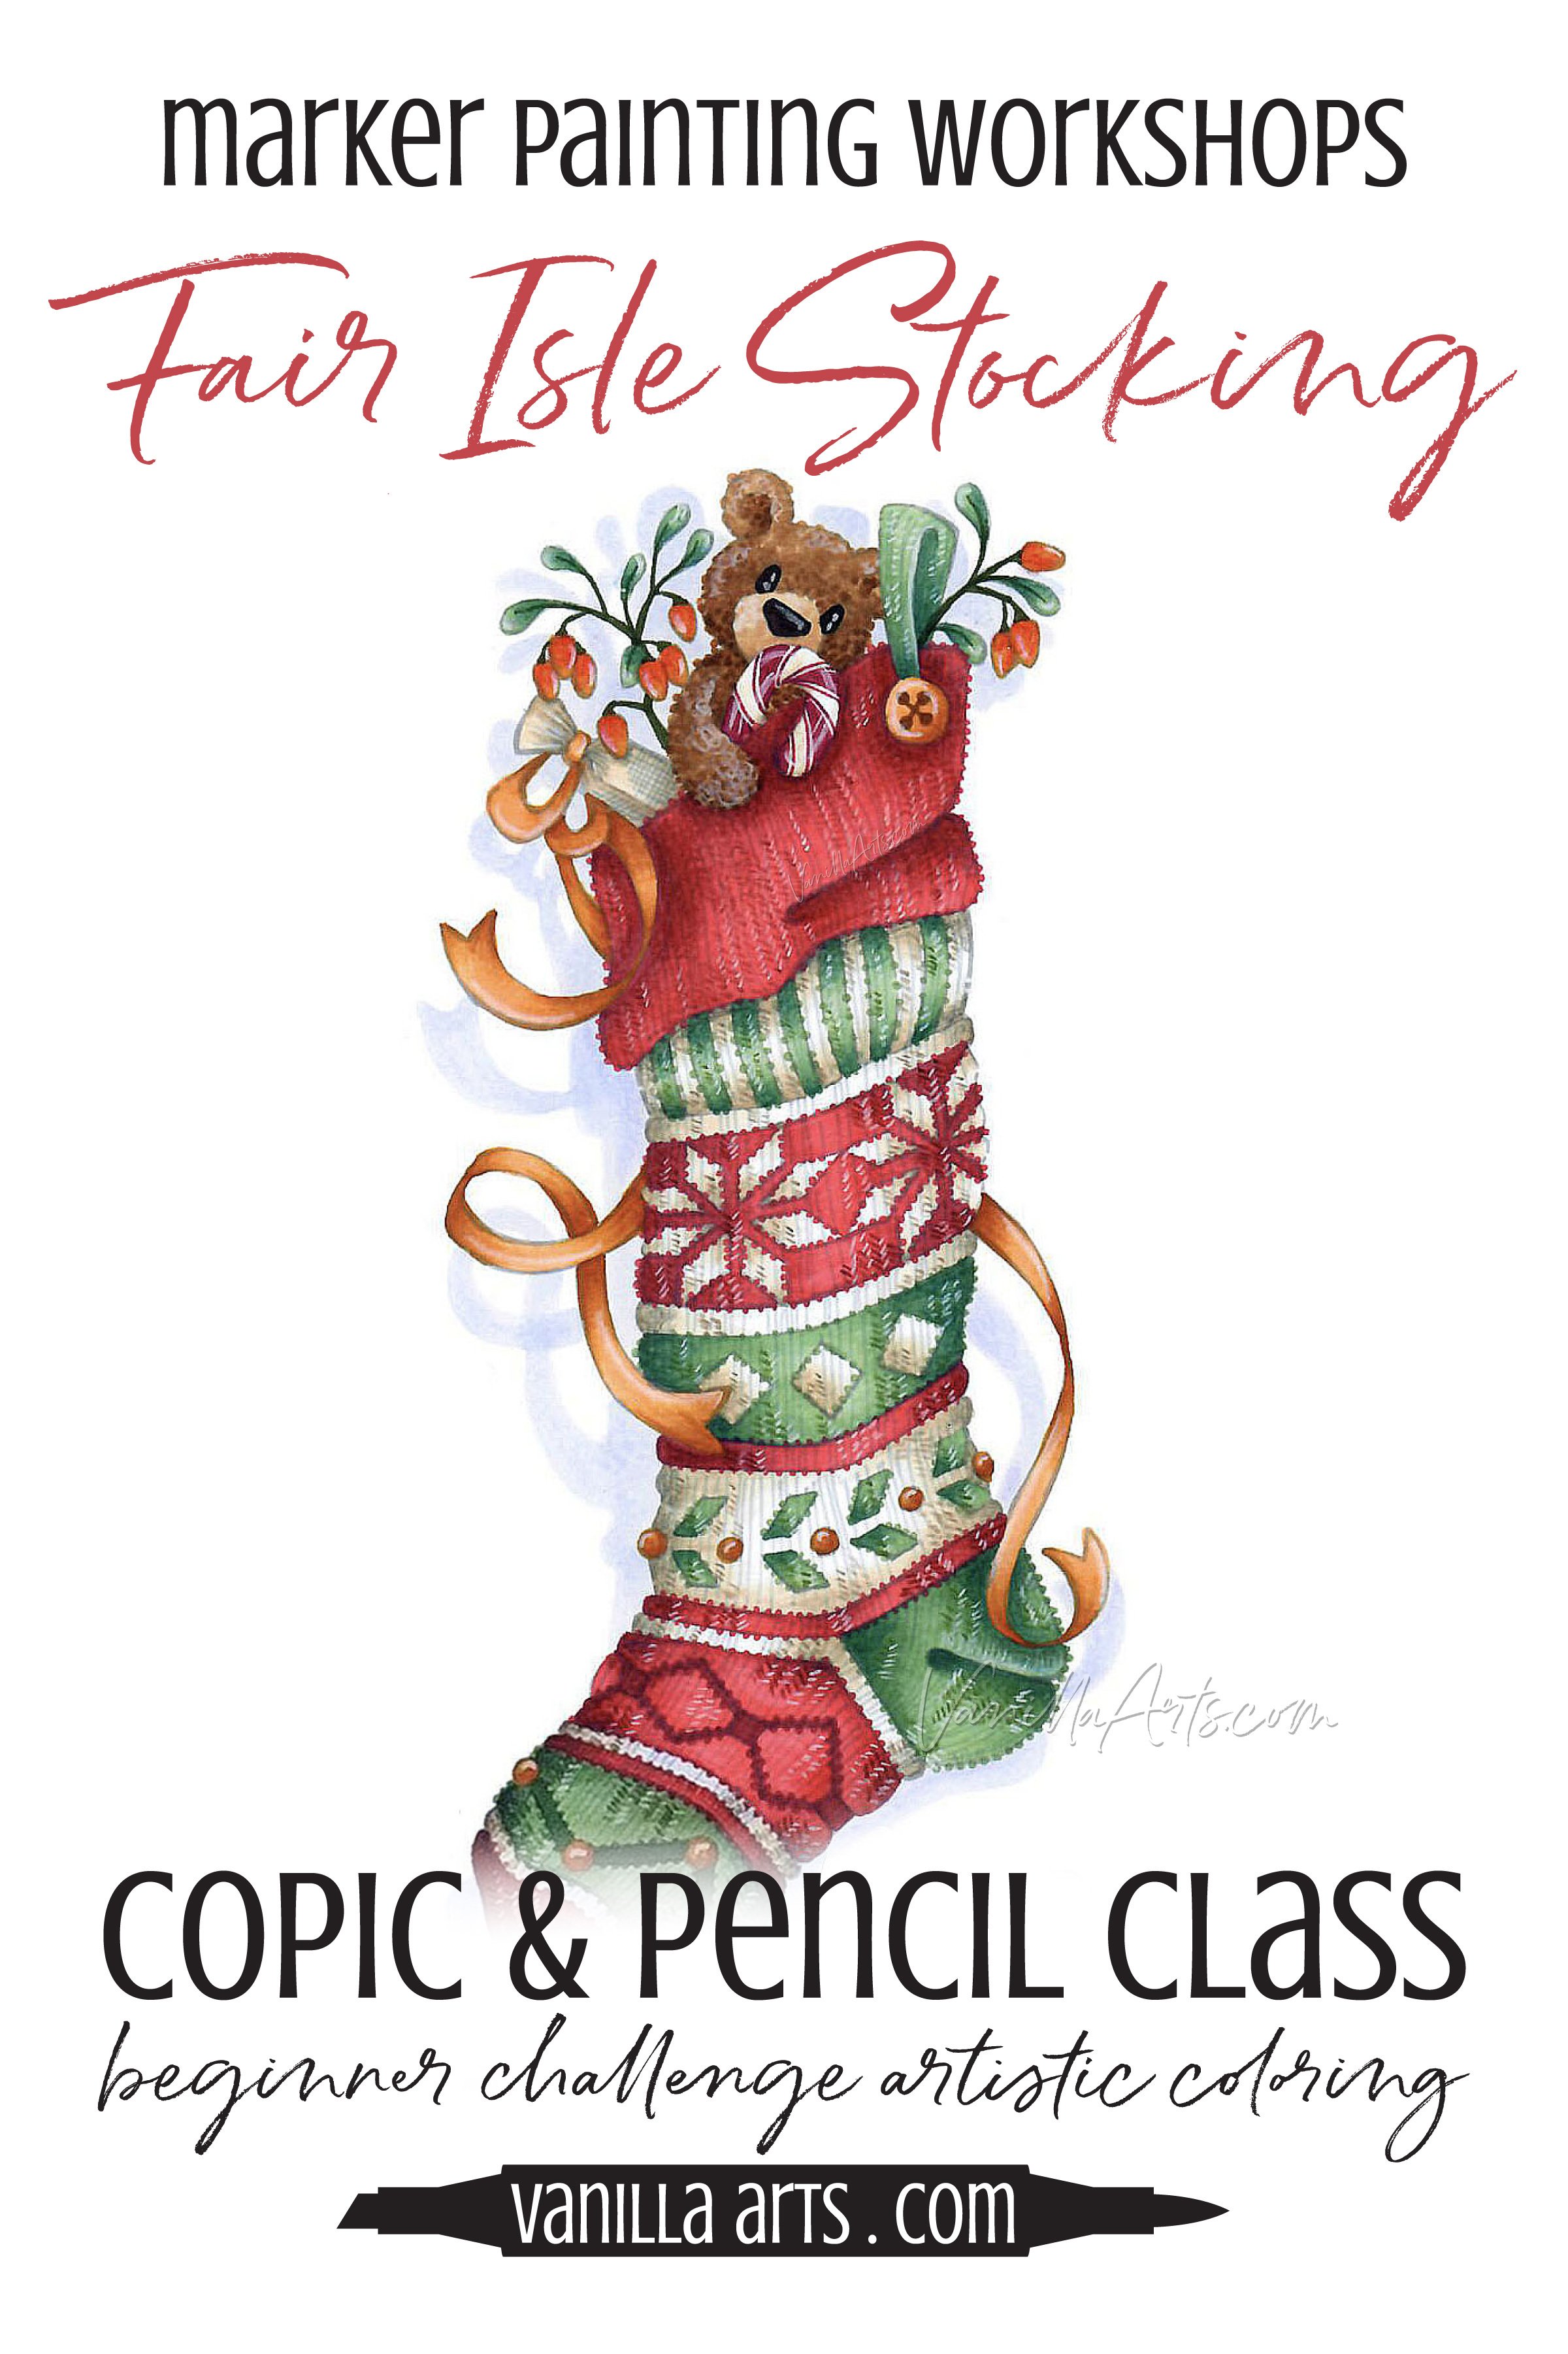
In Fair Isle Stocking, we take an average looking digital stamp and color it at 10 inches tall.
Amy gives you tips and her actual process for smoothly blending large scale areas beautifully.
After we blend the large stocking smooth, we break it up with casual texture. You’ll enjoy the easy process of creatively texturizing large areas of smooth blending with fun pen and pencil strokes.
Fair Isle Stocking is a Beginner’s Challenge level class.
Step 2: Create Texture at the correct Scale
Step two helps you pull back from the coloring process to consider the size and scale of real objects.
Standard marker coloring classes treat texture as a novelty technique— something fun to do when you’re a bit tired of blending all the time.
But nifty techniques can be so much more when you match the size of the texture with the size of your subject matter.
To color with realism, you must visualize the scale of your objects.
In Snowman Supplies, we add realistically sized textures to various objects, always matching the texture to the scale and level of detail the human eye can see in everyday life.
Amy moves you beyond standard pointillism, flicking, and pleating; helping you add authentic looking texture.
Once you master scale, you can create amazing trompe l’oeil effects which truly fool the eye.
Snowman Supplies is an Intermediate level class.
Step 3: Using Correct Values
Step three helps you break free of the color-related stereotypes holding you back.
Blending combinations tend to be light-medium-dark versions of the same color. You shade with the dark and highlight with the light, It all looks very pretty.
But real life shade and shadow isn’t always pretty.
And objects are not usually the color you assume.
To color with realism, you must see color for what it actually is and give yourself permission to use murky or even ugly colors.
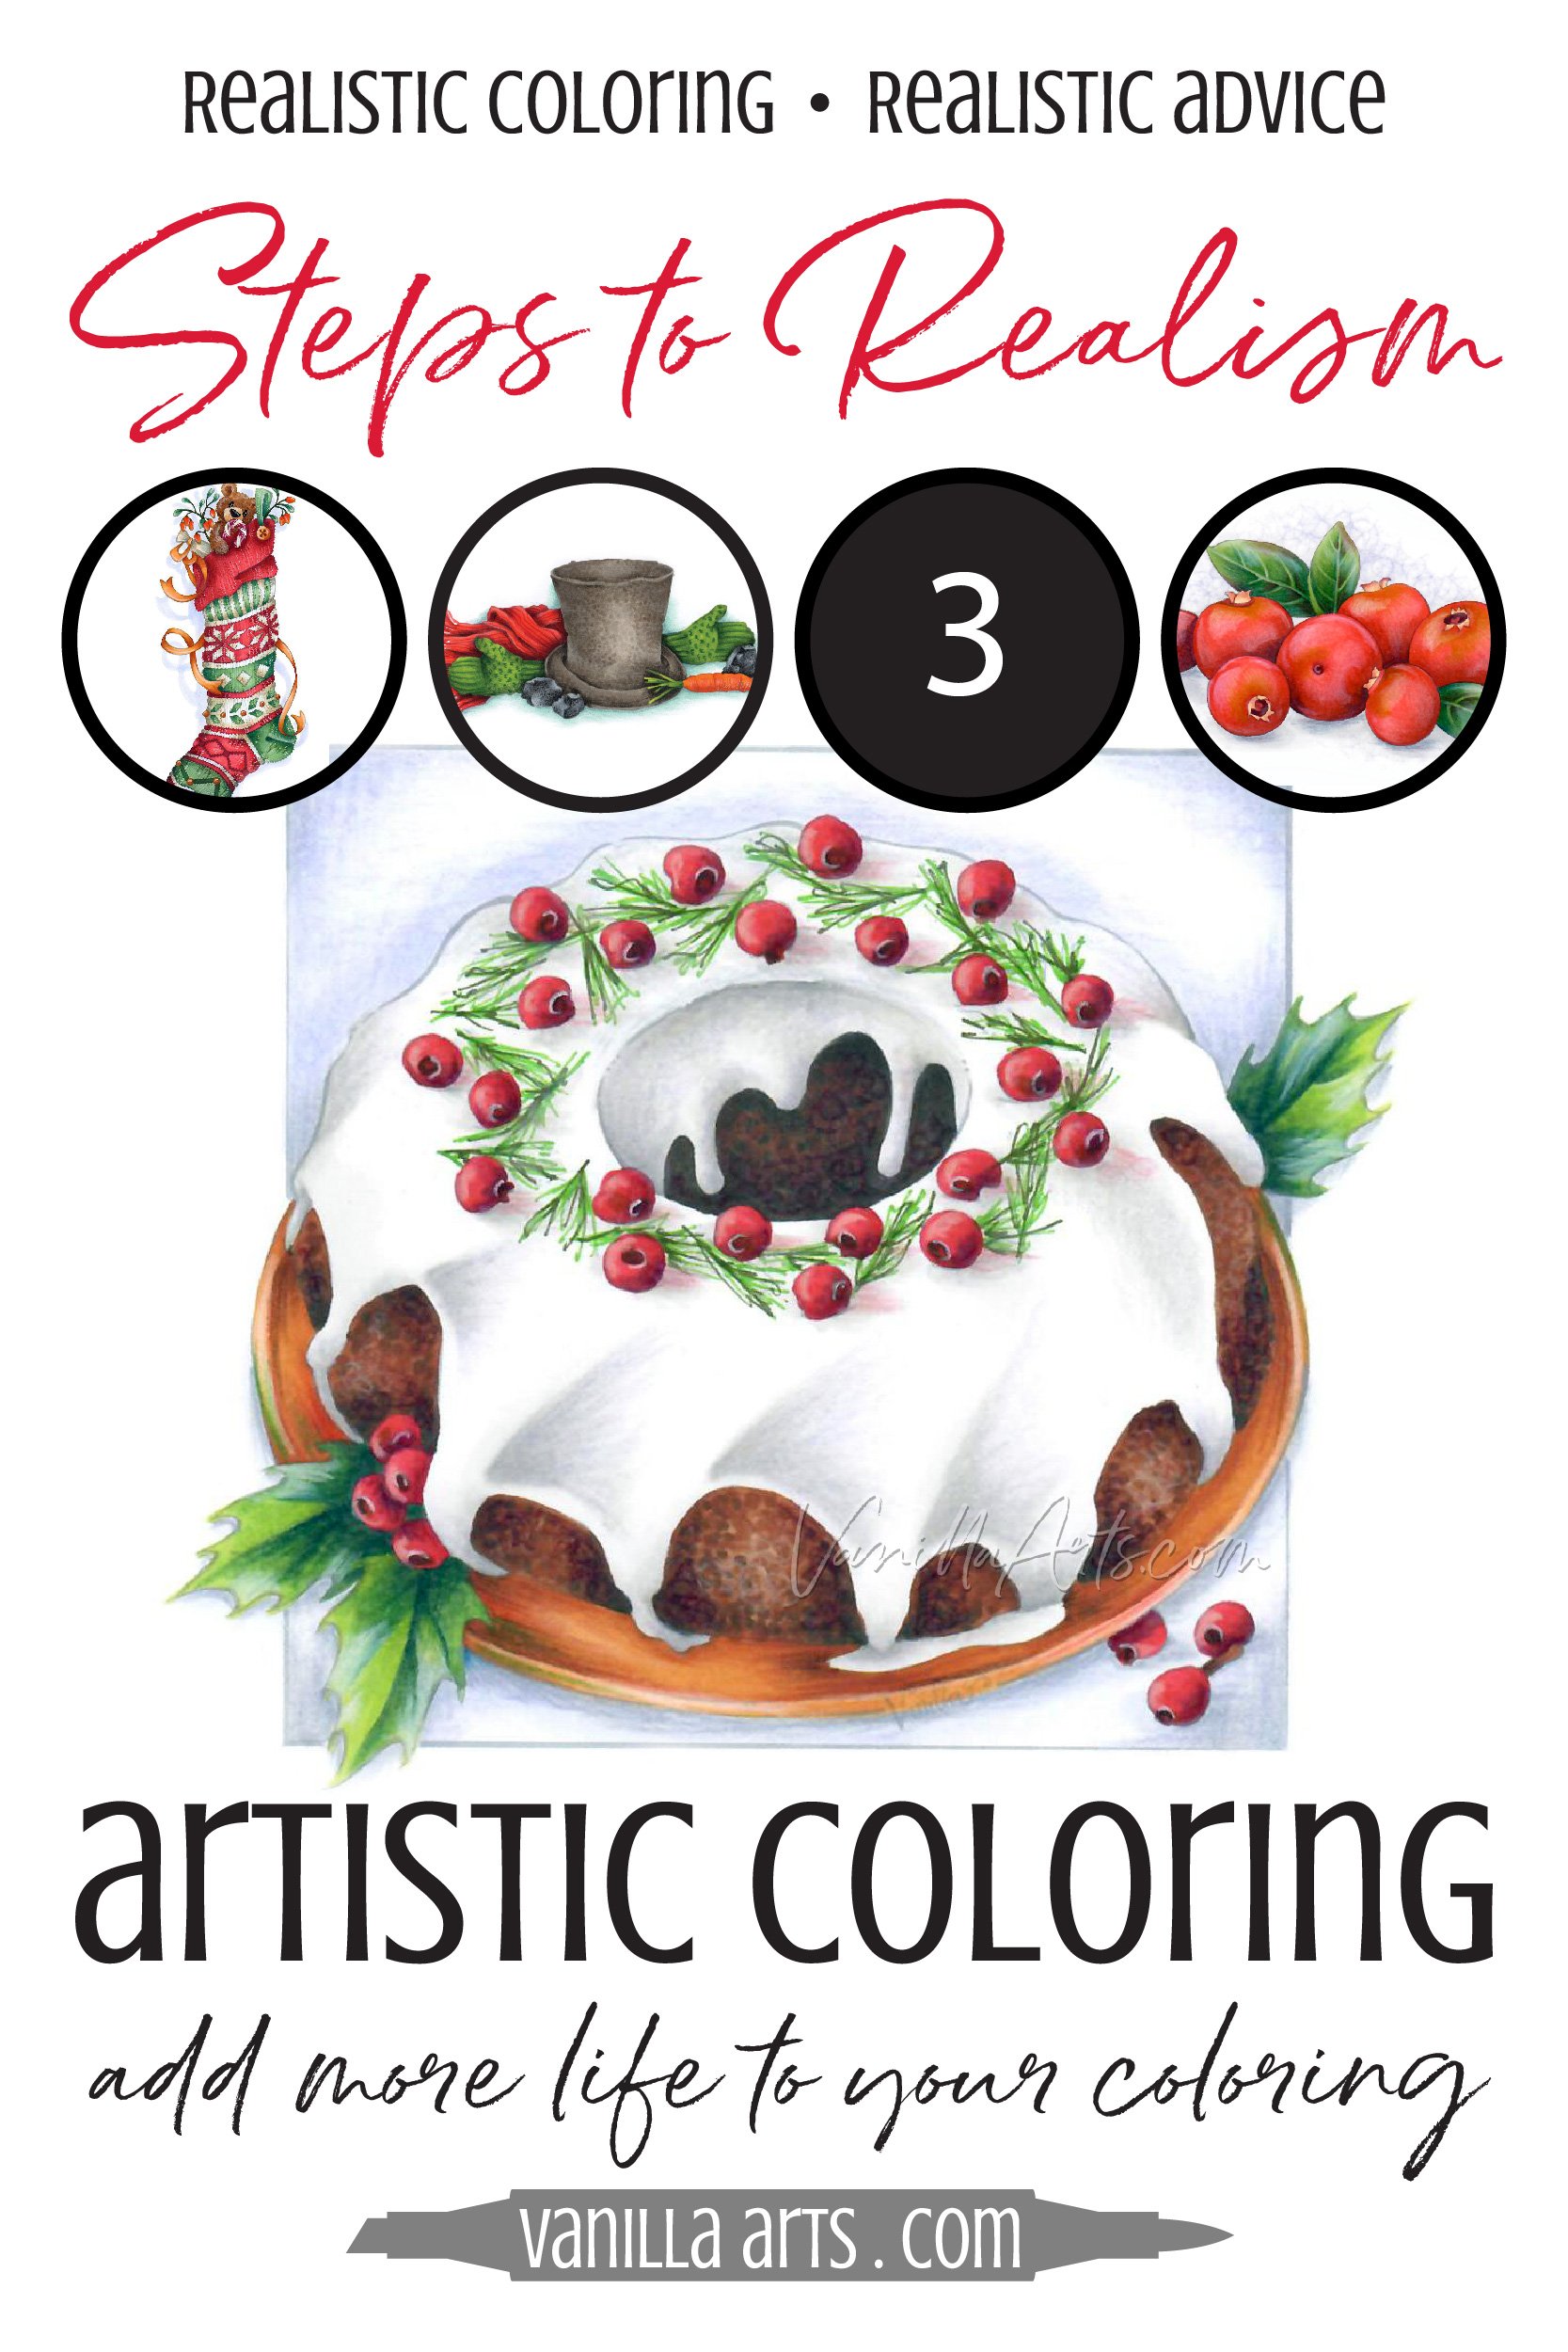
In Christmas Cake, we use color to create the illusion of a three dimensional shape.
We call this process color sculpting and it’s the key to creating lifelike dimension and ultimately realism.
But you can’t get to realism with a handful of pretty blending combinations. We’re ditching the pretty to make it look real.
Christmas Cake is an Intermediate level class.
Step 4: Creating Accurate Highlights
Step four opens your eyes to authentic highlights and realistic shade.
Too many coloring tutorials teach you how to color one object, then instruct you repeat the same process over and over on everything with a similar shape.
But in real life, every object is unique and carries different patterns of light and shadow.
To color with realism, you can’t color everything the same.
In Festive Cranberry, we learn to use photo references to detect the subtle differences in shape, light, and shadow on a group of cranberries. Every berry is a sphere but they’re all uniquely placed and each carries it’s own patterns of light and dark.
We also explore edge quality and speed of color transition, creating complex highlight patterns with artistic sensitivity.
Festive Cranberry is an Intermediate level class.

Steps to Realism
Join us for a series of entertaining and eye-opening classes which slowly introduce you to the concepts and visualization techniques used by professional artists and illustrators every day.
(click class for more info or to purchase)